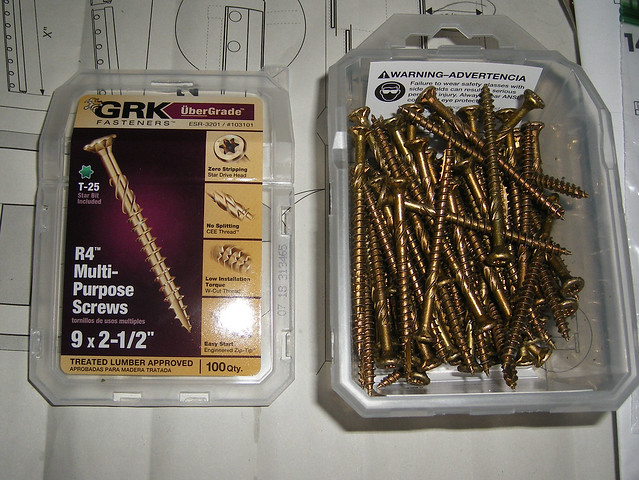
I bought a 5 pack of them

dremel/rotary tool with the cutting blade on

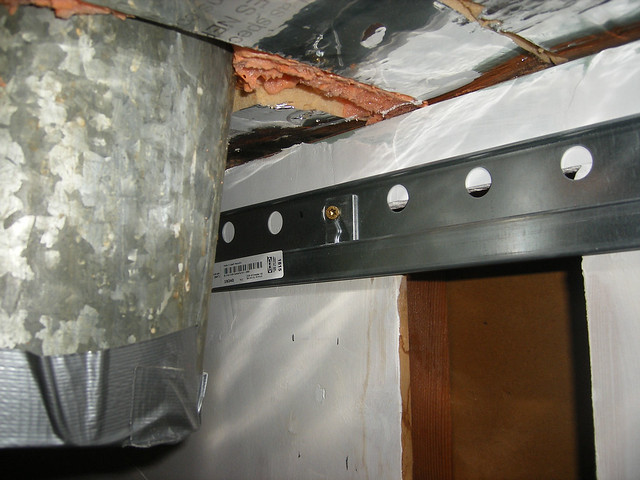
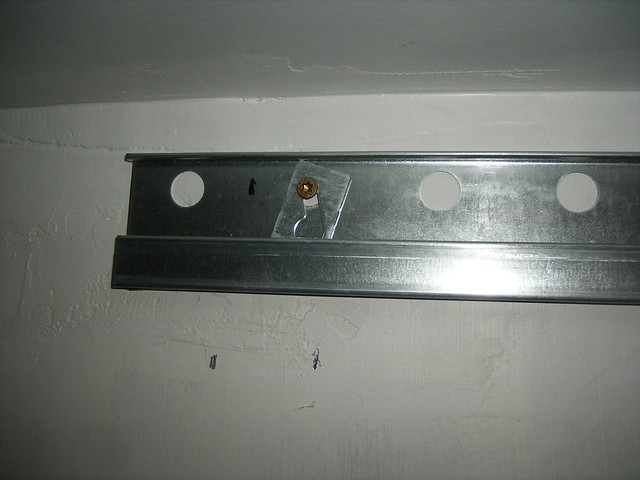
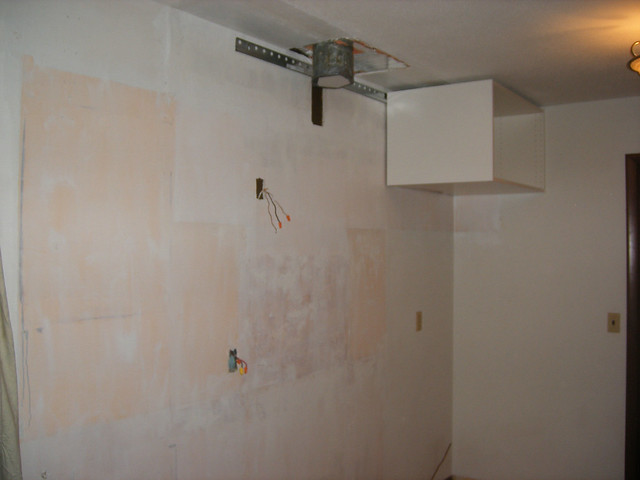
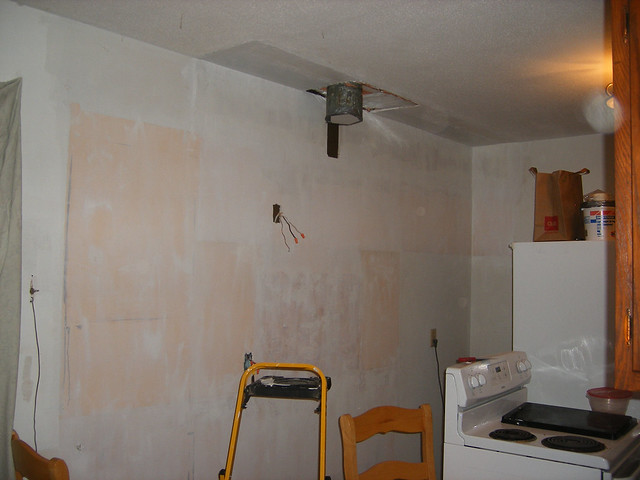
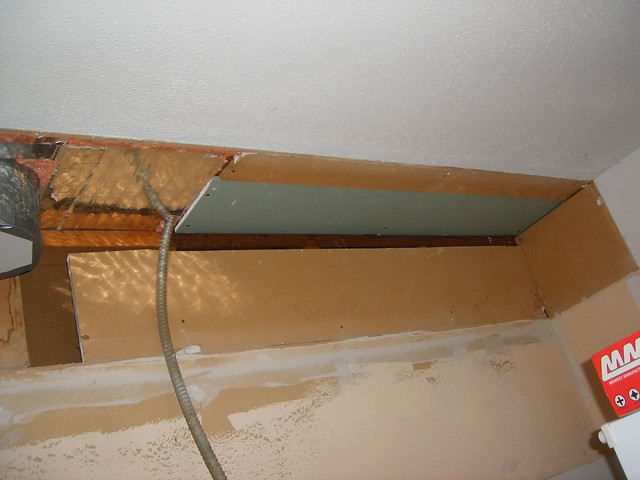
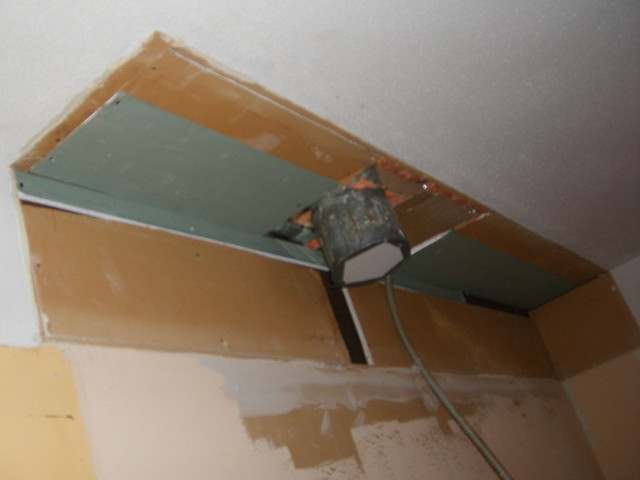
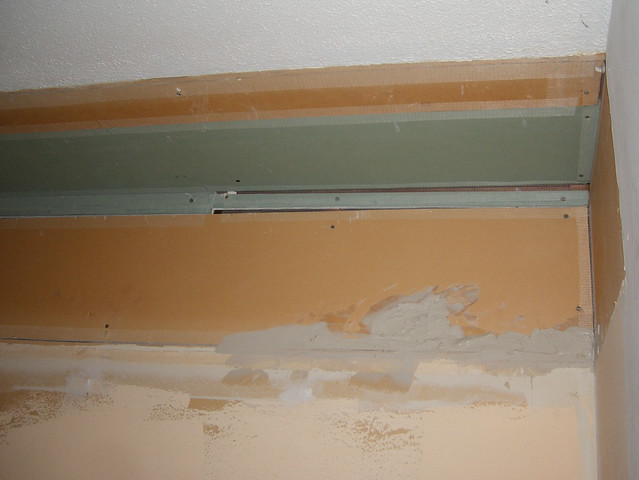
I cut off the suspension rail already installed up on the wall. sparks went everywhere. THEN I remembered to put on my safety glasses. after a couple hot metal sparks landing on me. future note: do the cutting outside! and I'll probably want to clamp the suspension rail to hold it still when I cut the next section. (the location of the stud dictated where the next rail needed to anchor so I had to cut off the one we'd already put up)

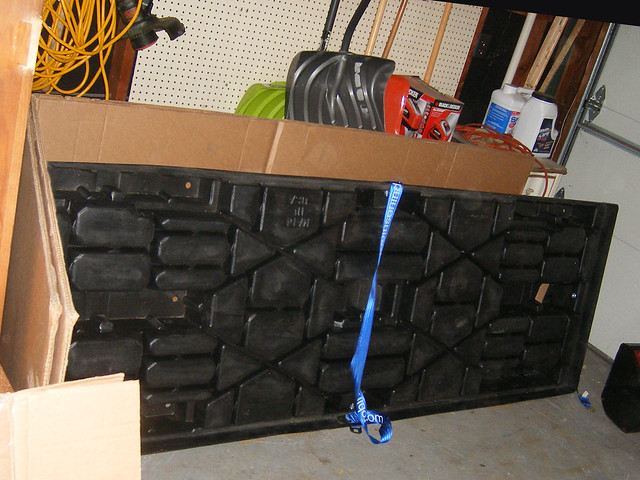
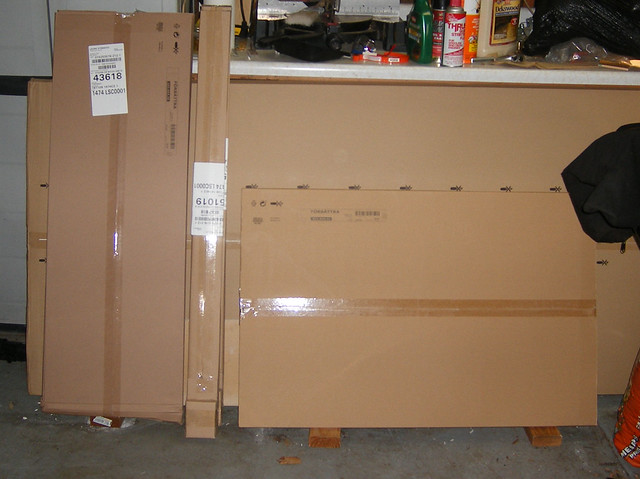
the cut off piece of the rail

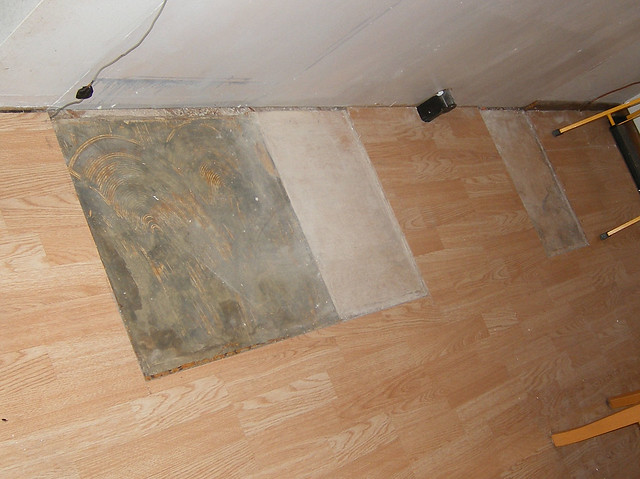
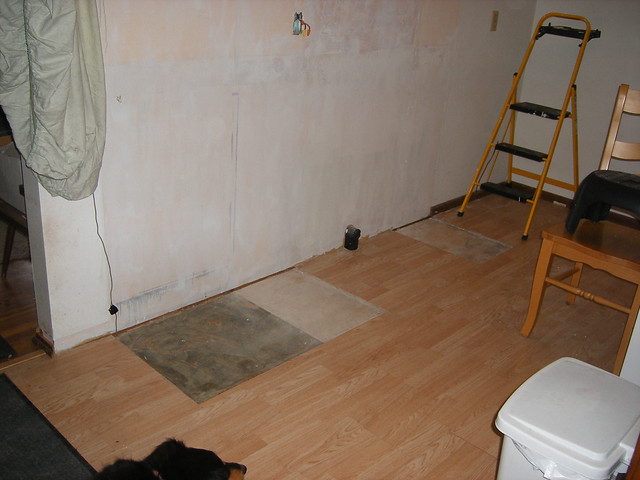
I used a chisel and tried to remove the hump in the plaster on the wall, at least for where the rail will go. its a lot better, but still got a bit of a hump. this worked much better than trying to sand it.

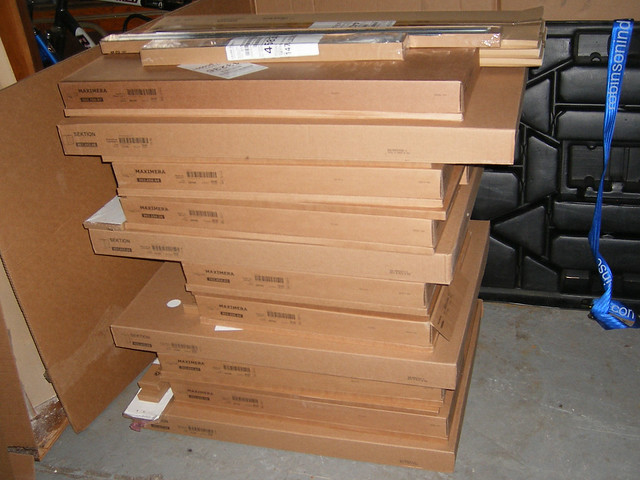
I decided that maybe the 20" tall cabinet over the stove isn't right. maybe I want a 30" tall cabinet over the stove instead. I asked dad, and their cabinet over their stove is 30" tall. but a different cabinet will require a trip to ikea. and according to today's website, they're out of that cabinet for another week or so.
dad wants to come up Saturday, but I don't want to go to ikea on a Saturday (I've heard horror stories of slow moving crowds and unsupervised kids.) plus the cabinet might not be in stock by then. their delivery dates for out of stock items seem to be best guess rather than reliable. but the website is reliable in telling you if its still not in stock yet. even though they said it should be delivered tomorrow and then tomorrow the website still says nope, not in stock yet.
I'm sick of waiting and hearing nothing from ikea about my missing parts. I sent another email, starting over with their generic 'resolutions' email rather than continuing to reply to the persons email who initially replied but since then has ignored all my further attempts at contact.
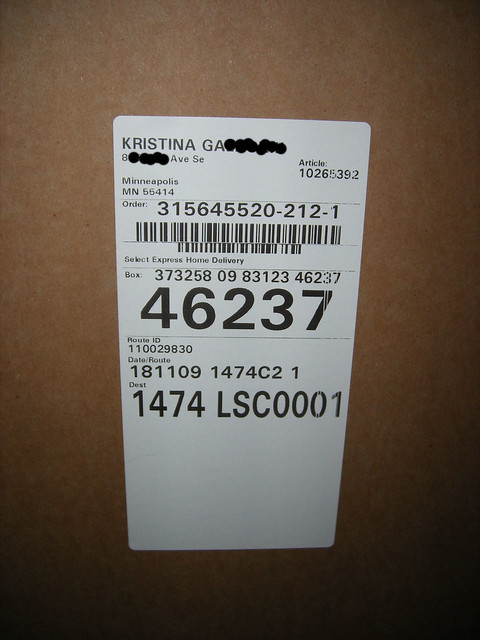
missing pieces from ikea order xxxxx
To: dl.Resolutions.212.us@ikea.com
Nov 29
I have been waiting two weeks now and I still haven't heard from anyone about what is happening with my missing 18 parts that the delivery company didn't deliver.
TWO WEEKS!
This order was placed back on October 30. It was delivered November 17, three weeks later (after the delivery company cancelled on me three times!!!). It is now November 29, 5 weeks since the order was placed. I STILL don't have these 18 parts, nor has anyone bothered to tell me whats going on.
Will someone PLEASE tell me how much longer you're going to make me wait to get these parts? This is getting ridiculous! I can't reach anyone by phone. Your phone always claims a 'higher than normal call volume' and then hangs up. and this Martha Quist person won't return my emails.
Do you really care so little for your customers whom you've ripped off? I want my missing parts. I paid for them. I paid for delivery of them. Why won't you help me or even respond to me?
-from me
i also sent another email to the lady who initially replied to my first email but who quit responding after that initial reply.
To: Martha Quist
Subject: Re: missing pieces from ikea order xxxx
sending you another reminder that:
I am still waiting to hear about when these missing items will be shipped to me. My order was missing 24 parts, ikea order xxxx. This order was placed back on October 30. it is now five weeks later. and I STILL don't have these 18 parts.
article no. 102.655.18 section se leg 4 1/2 " 4pk -- missing 4 of them
article no. 602.046.45 utrusta hinge 125 2pk -- missing 8 of these
article no. 402.418.23 utrusta dr dmpr hinge -- missing 4 of these
article no. 002.984.06 sektion sup brckt/ktchn island - missing 2 of these
---
these 6 items had to be reordered and paid for separately since you took it upon yourselves to cancel this part of the order without asking me if that was ok. order # xxx. this order of 6 parts has arrived and I have these parts now.
article no. 502.668.08 veddinge drwfr 30x10 -- missing 6 of these
-from me
this is what i finally got back:
From: Martha Quist
Subject: RE: missing pieces from ikea order xxx
Thank you for reporting these issues with your delivery. After doing a follow-up with the delivery company, I will contact you again to work on getting these items replaced for you.
Best regards,
Mason Quist
__________________________
Ikea Twin Cities Customer Resolutions Specialist
(952) 854-8212 x 1715 | martha.quist@ikea.com