My elderly dog is in end stage kidney failure, so kitchen things have slowed down while I take care of him.
over the last two weeks i worked on installing the kitchen shelf for the microwave and the toaster oven. given its location, only two shelf brackets in the middle hit studs. so i got them installed. but the ends were floating and sagged a bit. i had bought three brackets, so i went back and bought a fourth. then i used wall anchors to install the two end brackets.
i set the shelf in place and then cooked something on the back right stove burner and the steam coming up along the edge of the shelf had me concerned, with it being a sort of pressed wood/melamine type product. so i asked dad to cut almost two inches off so i could scoot the shelf ever so slightly to the left away from the stove and steam. we've been having freaky warm weather for minnesota, above freezing in january! so dad was able to cut it down for me on his saw out in the garage.
i set the shelf in place a second time and realized i needed a hole for the cords if the shelf was going to be screwed to the brackets. so i drilled a hole using the smaller paddle bit, but then realized the microwave plug was a bigger 3-prong plug, and to unplug it while the toaster oven was still plugged in, i needed a bigger hole. but i couldnt make the bigger paddle bit work with the center hold already cut out, so i made another hold with the smaller paddle bit next to the first hole, and used a chisel to connect the two. well, uh, my chisel is really sharp. i stabbed myself with it three separate times. two required bandaids. one was really bad and required a paper towel and pressure to slow the bleeding. this is why i cant play with sharp objects.
the shelf is in place, screwed in, and the microwave and toaster oven are up on it, right at my eye level. so then of course i realized how dirty they are and had to clean them. sadly, the 'fume free' oven cleaner stuff i had didnt work on the toaster oven. i'll have to pick up some better stuff. but i'm scared of the heavy duty oven cleaner stuff, i got a chemical burn from it once, ate thru the skin on my elbow. very painful. and did i remember to take a picture? nooooo! so you have to imagine for now.
today dad came up and we took down the three upper cabinets. the overhanging/peninsula one was only held in by four screws, two in the ceiling, two on the wall. it was a heavy cabinet! we propped it up with my step stool and some big books, and then hauled it downstairs. the other two upper cabinets were nailed in place and i pulled the nails out, three for each cabinet, two at the top stud, one at the bottom of the same stud. thats it! it doesnt seem like enough to hold those heavy cabinets fully loaded with dishes and stuff up on the wall. then we hauled those two downstairs too.
the upper cabinets
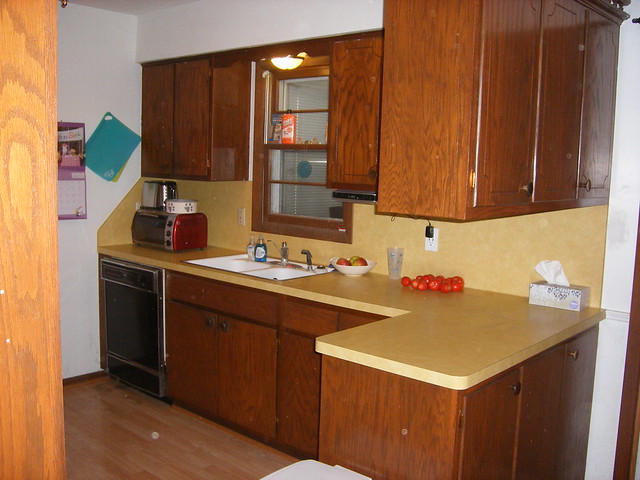
the overhanging/peninsula cabinet goes all the way to the wall and has 3 doors on its backside.

dad used the sheetrock knife to score the edges of the sheetrock around the soffit, and cut the end open on the soffit to peak inside. i was worried about blown in insulation in there, but hardly and insulation was in there. so we went to lunch at arbys. their fish sandwiches are back and they have good fish sandwiches.
the soffit, and the little stool with the books we used to support the upper cabinets after pulling the nails, before lifting down to the floor.

the soffit partially removed
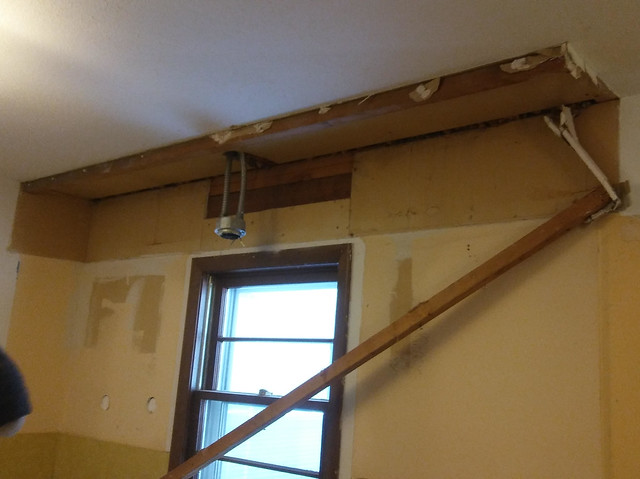
when we came back we unhooked the light fixture that was over the sink. then dad cut the soffit into pieces with his jigsaw and that got pulled down. there were a couple pieces of sheetrock to patch in. but the only sheetrock left was what we pulled down from the soffit. which was HEAVILY plastered. we made it work.
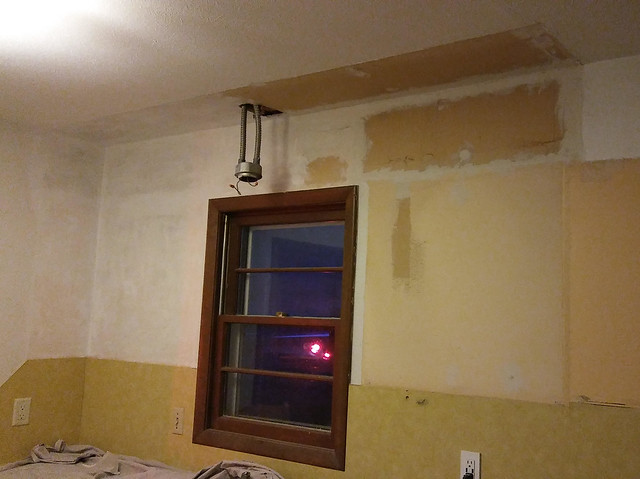
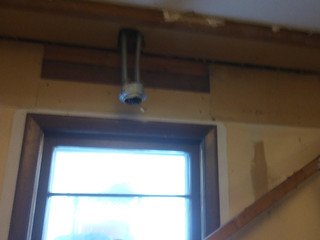
the odd conduit where the old light fixture was, and the wood header above the window that needed sheetrock patching
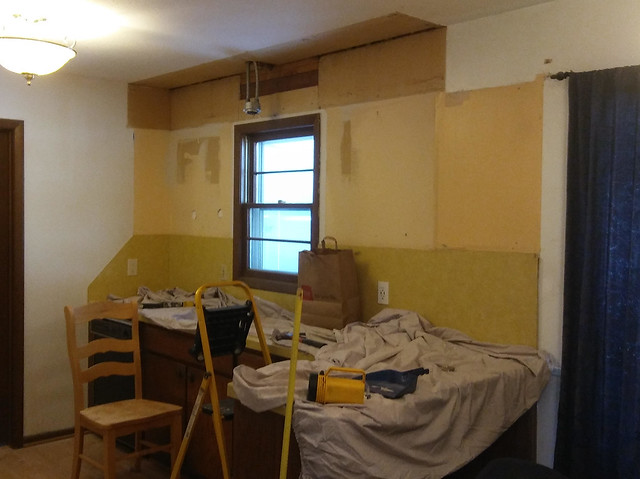
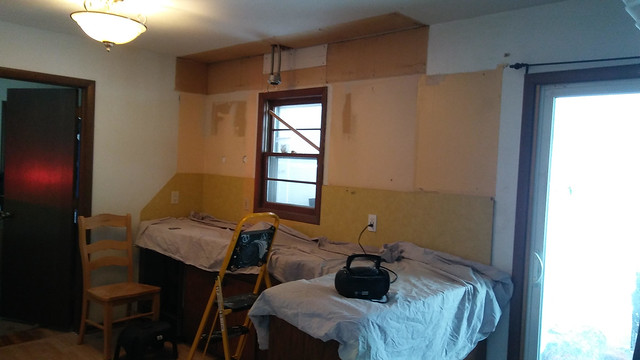
soffit-less wall!

drop cloths and mess
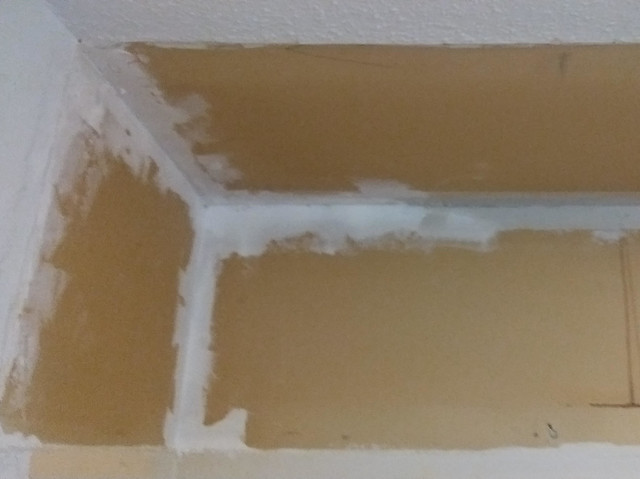
the sheetrock patch over the window
now i have some cleaning up to do, scraping the plaster/mud at the edges of the soffit. painting. taping. mudding. assembling the upper cabinets.
puppy hung out in the porch, and i kept checking on him. made him come inside when he started shivering. covered him up when he kept shivering. and went outside with him to make sure he could get back inside.
the third time we carried a cabinet downstairs, puppy FOLLOWED us down! he hasnt gone down to the basement in months. unfortunately he had an extremely difficult time getting back up and i had to help lift him a couple steps. but i was impressed he made it down.