

there is a hole for the light fixture, and the light's clips poke up a bit inside the cabinet and i dont want the light fixture squished or damaged.
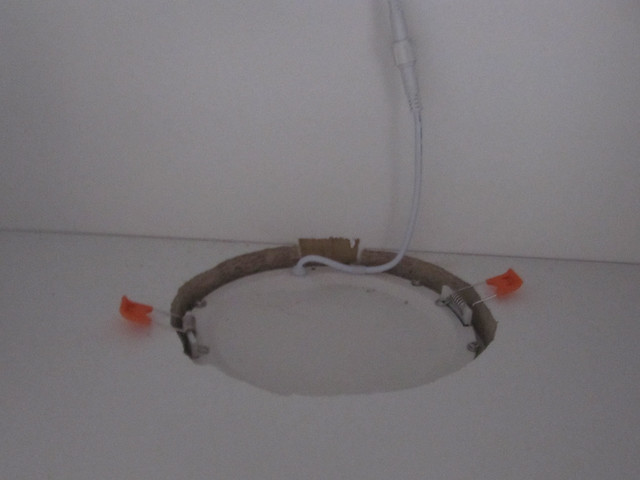
so this little platform piece we built will just sit over it, protecting it from anything i shove up in that cabinet.

i also brought one long length of window trim for dad to cut narrower. the window is too close to the outer wall of the porch for a full piece of trim to fit between the window and the wall. dad cut that down for me too.

today/wednesday dad came up today and we cut the trim to fit around the new kitchen window on the porch side.
ready and waiting for the final trim
we used my chop saw (miter saw) to get the angles. which was handy because we needed not 45` angles but 46` to get the corner right.

i can understand why people would find window and door trim intimidating. its really easy to screw it up. i mean, cut it just a teensy hair too short and it shows dramatically. you'd have to re-cut it. dad had me make piece too long to test the angle cut and get the angle right first. once we found the angle, then nibble back at the length til that's right. it is a LOT harder to tell where the saw blade is going to cut when the saw blade is turned at an angle.
the skinny vertical piece we cut for between the window and the outer glass wall of the porch

we drilled holes for the nails, and did corner nailing too.

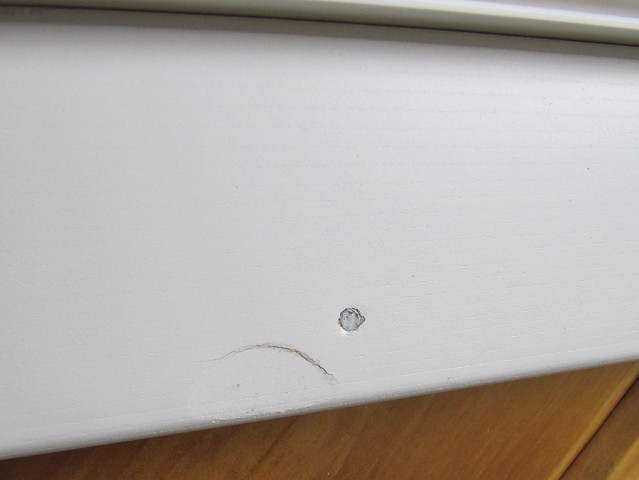
i managed to screw up and make one hammer dent in the poor window trim. i hope i can fill it with wood filler or something. its plastic/pvc window trim rather than wood since the window sits just above the sink inside, and will be potentially exposed to water. the plastic trim is much softer than wood. cuts pretty nice though.
we still need one more board cut for just above the top piece of the window trim, to cover the new window being shorter than the old one. dad took that board home with measurements to cut it narrower on his table saw.

i used the oscillating tool to cut a tiny piece of the wood away in the upper left corner above the window, so the new trim board will fit right
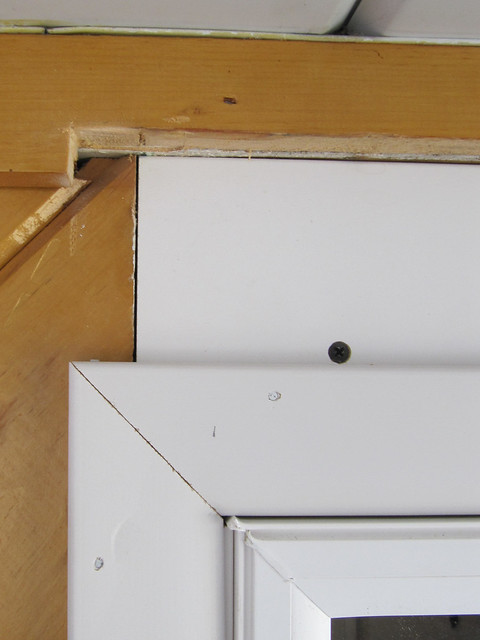
ready and waiting for the final board

the final board after dad cut it to size
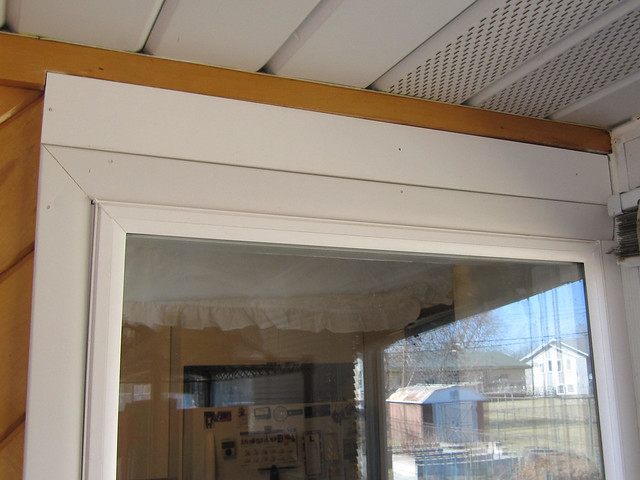
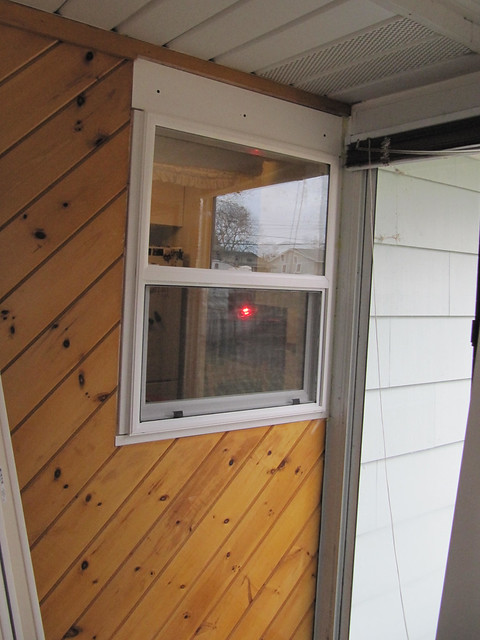
pretty window all finished and trimmed out

we also spent some more time discussing how we'll take out the old sink cabinet and countertop, and different ways we might cut the new cabinet to get it fitted around the pipes coming up from the floor. dad suggested we can cut one large hole in the bottom of the cabinet to fit them all. then we can take that cut-out piece and make smaller holes for the pipes and with some undermounted support pieces of wood, we can put that cut-out piece back in so there wont be such a big hole. that should allow us to lower the cabinet in place around the pipes fully assembled and not have to deal with the back not being in place or long/tall holes for the pipes to pass thru to get it slid in place.
its going to be a long busy day when we do that. disconnect the water pipes and the drain pipes and the dishwasher pipes. pull the counter and sink off. pull the old cabinet out. hang the suspension rail. measure a whole bunch. make cuts in the bottom piece and back piece of the sink cabinet. assemble it and drop it in place. hope everything was measured right and fits right. replace the old countertop and sink. connect the water and drains and dishwasher back up. turn the water back on and check for leaks. it sounds easy typing it out like that. but getting those measurements and holes and everything lined up just right is going to be very exacting work. and if the plumbing goes wrong it could mean multiple trips to the store to fix. and dad would prefer not to solder copper pipes
i just realized i have not tested the shut off valves under the sink. if they dont work we'll have to shut off all the water to the house and replace them. i better go check that.
No comments:
Post a Comment