Wednesday, March 13, 2019

kitchen post 34 - new kitchen window part 1

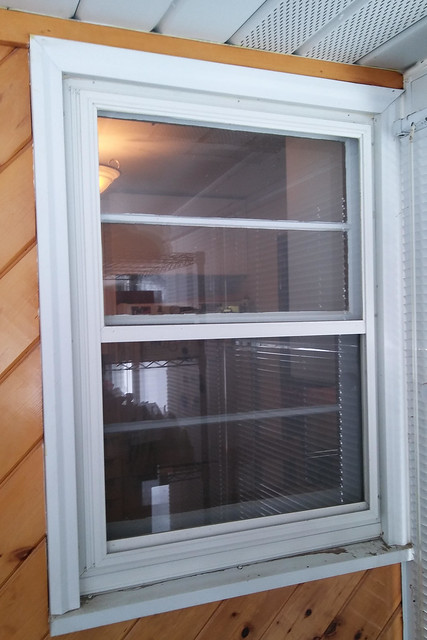
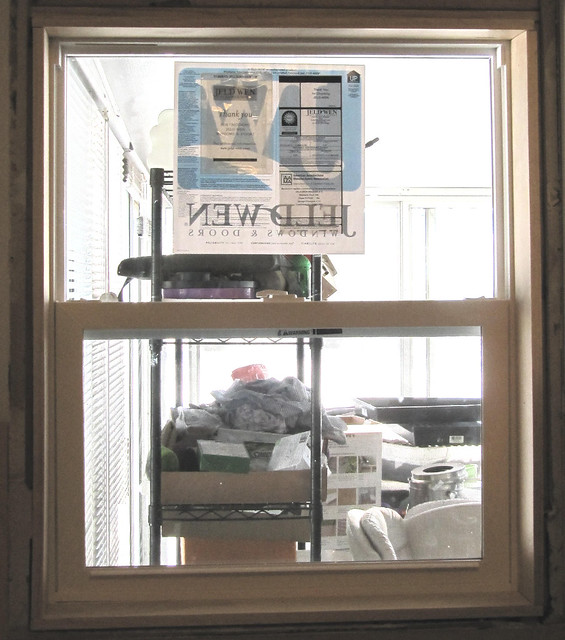
today i went on the internet looking to hire someone to replace the window from the kitchen to the porch. found someone on craigslist and texted them with two pictures, one from the kitchen, one from the porch.

replacing a window in winter with plenty of snow outside is not usually done. but this window is indoors thanks to the porch.

the old window, kitchen side
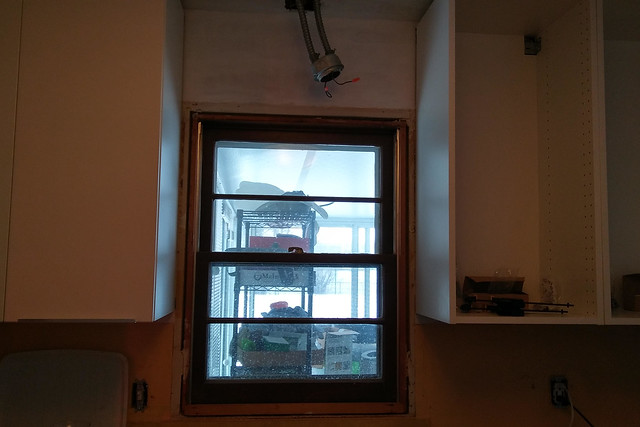
336

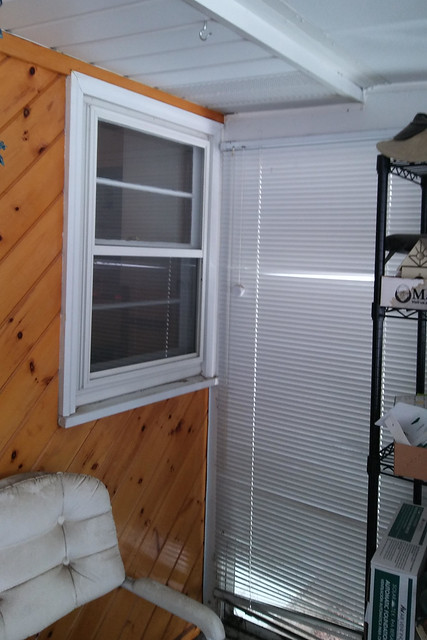
porch side
337

you can see the pine ship-lap out in the porch that would be difficult to match.
338

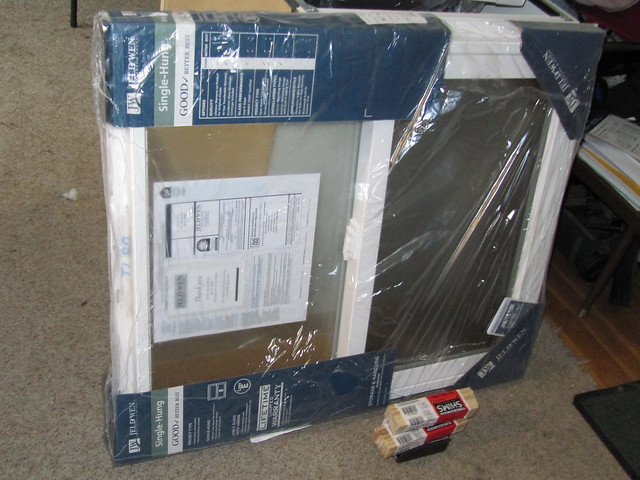
the window guy handyman got back to me right away. came by around 4pm to look and measure the window. he said he could do it today. he went to menards and bought the window and some 1x2 boards and boom. I have a new kitchen window. $165 window and $225 labor.
352

heidi was concerned there was a strange man in the house and barked a whole bunch at him. then closely supervised him the rest of the time he was here.
354

he broke the outer/storm window glass of the old kitchen window while removing that window from the wall out in the porch. my first thought on hearing the glass shatter was that he broke the floor to ceiling porch window next to that kitchen window. scared me for a moment. i was *quite* relieved it was NOT. it was just the old windows outer/storm glass that broke. the floor to ceiling porch glass would have been very expensive to replace. and thankfully heidi was supervising from the doorway to the porch, not brave enough to get closer. so no glass in her paws.

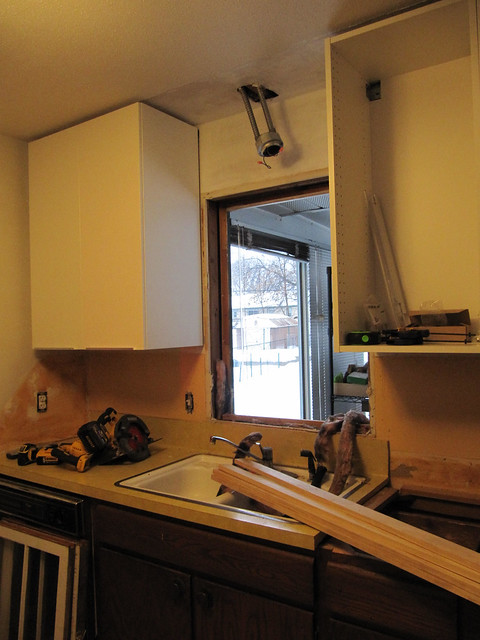
no window! just a temporarily empty hole!
355

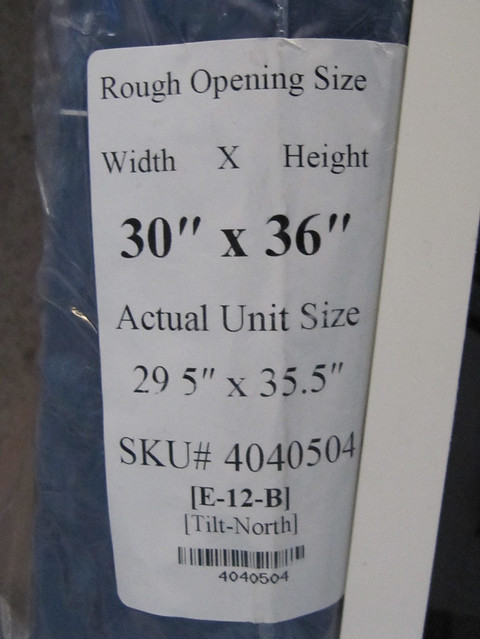
the old window measured 29 3/4 x 40. the replacement was 30x36. that is what they had in stock. he called me out to the porch to show me the difference and ask if it was ok. otherwise he could special order that original size, but we'd have to wait for it to come in.
353

i showed him how the height of the ikea cabinet i'd planned to have over the sink wouldnt fit because the old window was too tall. so he build up a filler above the window as opposed to below it to make it fit in the existing space.
356

with the wood windowsill added
.3-2019 (142)

but anyway, he got the old window removed and put the new one in. the new one is single hung not double hung (meaning the bottom panel slides up, but the top panel doesnt slide down, its fixed in place. he chose that and I was ok with it because it was cheaper and i dont open that window very often since its just out to the porch. I didnt realize that meant the whole window would be slimmer depth-wise. he installed it and made a windowsill for it above the kitchen sink. a wood windowsill directly above the sink. it was not exactly what I expected, having not realized the window wasnt as deep as the old one. it was however completely acceptable for my needs, and nicely done.

the kitchen side should be fine to finish off and trim out. but the porch side will be harder to mask the new window being shorter because of that diagonal knotty pine ship-lap out there. and the porch side wasnt quite as well done as the kitchen side.


edited to add
-----i've just realized the new wood windowsill also doesnt come out to even with the sheetrock. so any window trim would leave the edge of the sheetrock exposed. all the way around.

where my fingers are, i'm holding up a piece of trim that would go around the window. my thumb is on the wood windowsill he built. that white part in between my thumb and fingers, its the edge of the sheetrock.
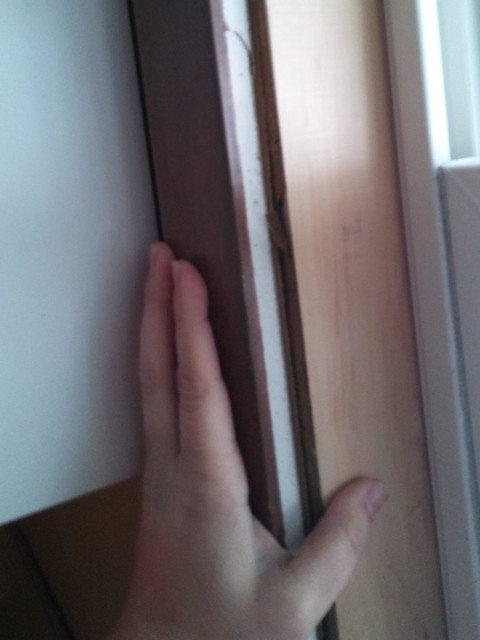
339

in this one my pointer finger is on the exposed sheetrock/drywall.
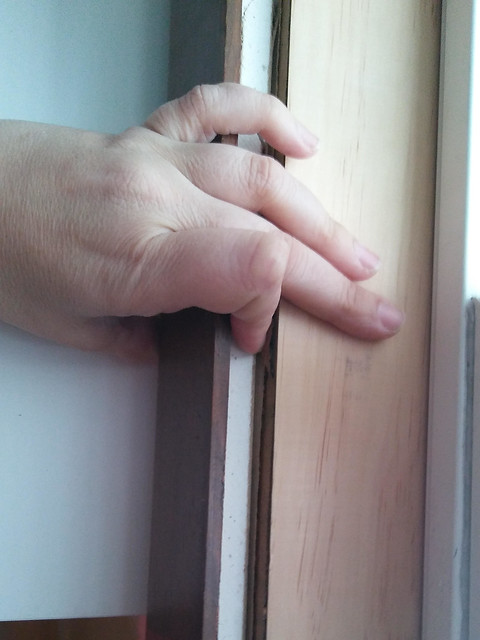
340

just holding the old wood trim up against the sheetrock
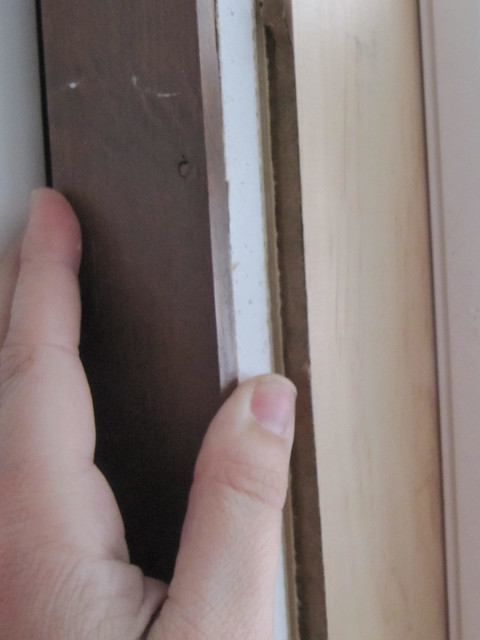
358

guess i gotta call him back.

Monday, March 11, 2019

kitchen post 33 - mismatched doors?

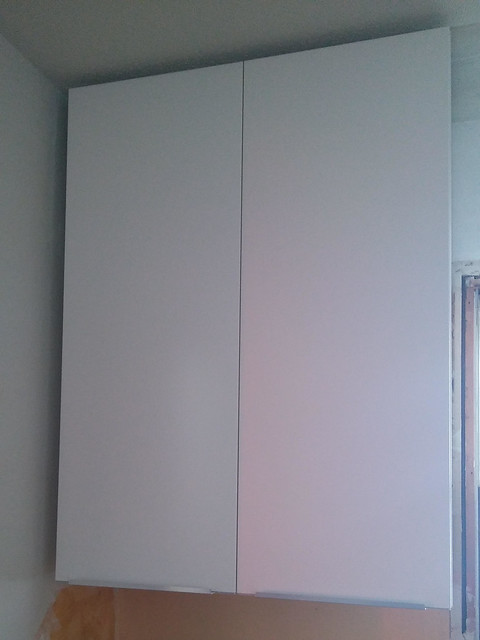
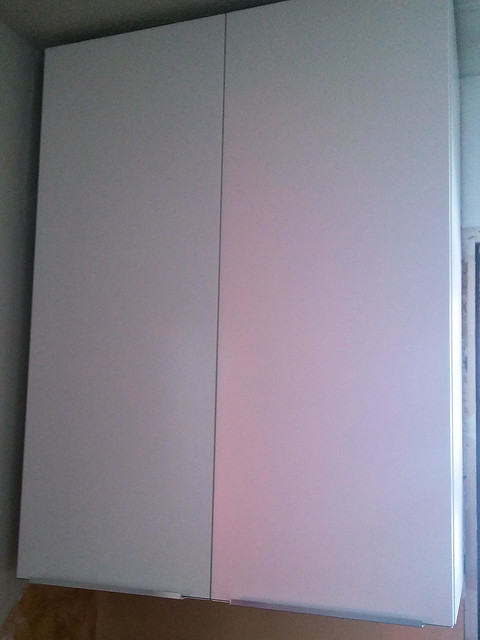
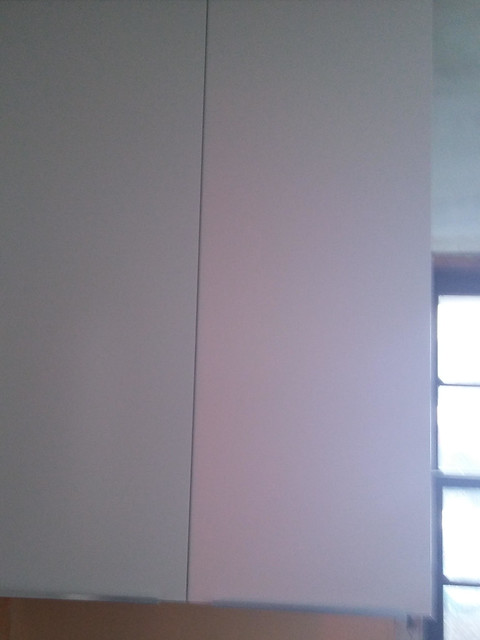
i put the doors on the cabinet over the dishwasher. but they looked funny! like two different colors! i tried again the next morning looking in daylight, still different. one was more pink than the other. i was irritated. how could ikea do that when ALL the other doors matched flawlessly! what on earth was going on!
312

because my kitchen is rather dark, even in daylight, i took them down and brought them out to the living room sunshine. they were exactly the same color. all the cabinet doors and drawer fronts are the exact same color.

but when i put them back up - one is pink, one is normal!
313

when i was taking down the second door, i was facing forward on the step stool rather than facing back to the handle. i didnt want to turn back around so i tried to go down the steps facing outward and my heel slipped and i slid down the step stool while holding the tall door in my arms and trying desperately not to damage it. it was a slower fall, but i still went all the way down on my back and bumped my head on the door frame. not hard enough to ring my bell, just irritating. but the door was fine!!! and i only added a few new bruises to my backside and elbow.

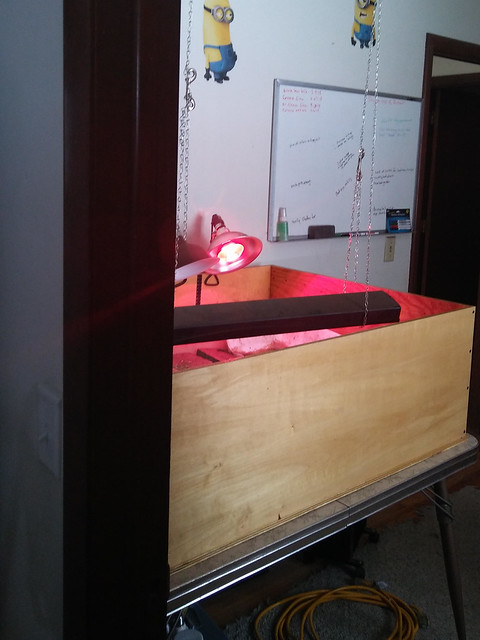
anyway, it turns out the cabinets were different colors only because of the red tortoise heat lamp!
314

the way it shined on the door frame between the tortoise room and the kitchen lined up *EXACTLY* between the two cupboard doors so only one looked pinkish. when i shut the door to the tortoise room, the cabinets matched just fine. open the door again: red light!
315

sadly... it took me three days to figure this out, hehehe. so i must apologize, ikea did nothing wrong. it was the tortoises fault for needing a heat lamp. and the doorways fault for lining up just perfect against that light. yeah, thats it! it was totally sweetpeas fault. *snort* couldnt be my fault, oh no! but all is well.

Tuesday, February 26, 2019

kitchen post 32 - kitchen window and cutting apart the countertop

yesterday dad came up and we ran to menards and worked more on the kitchen.

my new sink
301

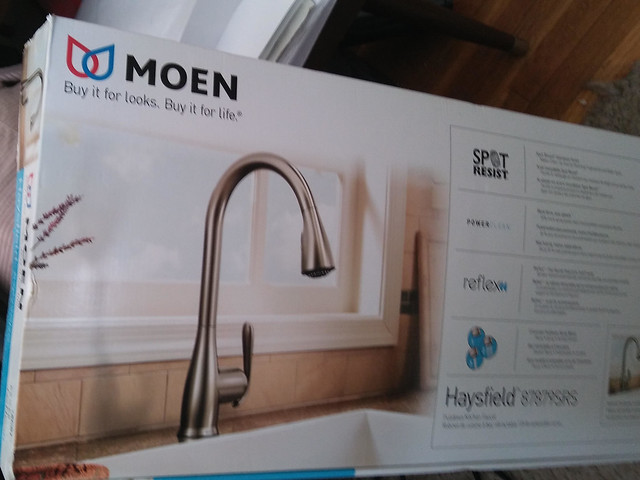
my new faucet
302

dad has suggested possibly replacing the kitchen window that only goes into the porch. its an original window, I didnt have it replaced with all the other windows, but I think I should have and I regret that now.

my choices are either paint it white to match, which would be a pain in the ass as it does not come apart to paint. I'd have to paint it in place, moving the double hung sections up and down as I went.

or replace it. but the porch side of the window has ship-lap (diagonal pine boards) on that wall. not exterior siding. it looks like a new window might cost in the neighborhood of $100-180 bucks. its a smallish window, about 30x40.

I'd like to replace it rather than fuss with painting. I think I have some internet investigating to do, watch some youtube videos and see what all would be involved.

we looked for replacement trim for the window. I want not-wood trim, being over the kitchen sink. they make polystyrene white trim like what is around the bathroom window in the tub/shower. menards didnt have the plain simple smooth trim like what is currently all over my house. its special order only. so later I looked online and it looks like both home depot and lowes carry that particular trim in stock. I'll have to swing by there and get some. I dont want wood trim directly above the kitchen sink. i might also replace the trim in the bathroom with the smooth matching trim. the window people put a fancier grooved/decorative trim in the shower that catches water and limescale in those grooves.

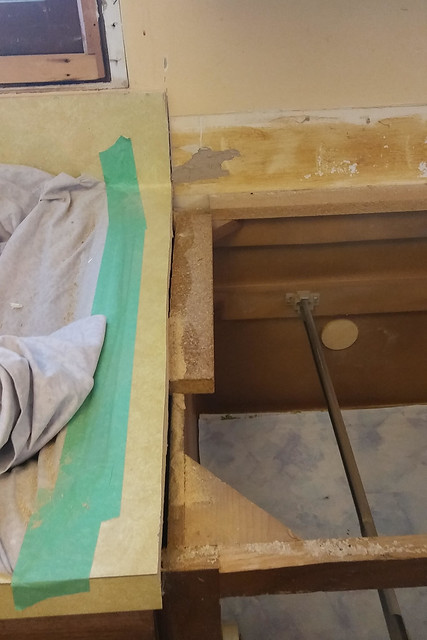
we came home and dad used his skill saw to cut the backsplash part of the countertop off to a more standard level rather than going all the way up the wall like it did. and we removed those two sections of the backsplash/countertop. my old countertops curved up like a regular backsplash, but continued on right up to the bottoms of the upper cabinets, all one piece.
304

then he made a cut to the right side of the sink in the countertop to remove that part of the countertop covering those two lower sections of base cabinets.
306

his jigsaw didnt quite work in the sections the skillsaw couldnt reach so I used my oscillating tool saw to finish those cuts. the old countertop was glued down, not screwed. dad pounded it loose and we lifted it off. by then we were pooped.
303

307

we also cut off the piece countertop over the dishwasher between the sink and the wall. here you can see how we cut the back of the countertops off.
308

the base cabinets without their countertop
309

the big piece of countertop
310

the two backsplash pieces we cut off (with outlet holes)
311

next up will be removing those two sections of base cabinet. and dealing with the floor underneath them that wont have the laminate flooring. the old sink is still in place so I still have a functional kitchen.

dad thinks when its time we can unhook the sink, leaving it in its countertop section, remove the old sink cabinet, put the new sink cabinet in place, put the old sink in its old countertop section back in place over the new cabinet, and then finish installing the other base cabinets. so that I'll still have a working sink until the new countertop comes and gets installed with the new sink and faucet dad bought me. somewhere in there someone will have to come out and measure for those new countertops.

Sunday, February 24, 2019

kitchen post 31 - hoisting up the last two uppers

I got the new 18" cabinet assembled and hung it in the kitchen. hoisted it to the counter. then hoisted it up onto my footstool on the counter. then hoisted it up to the railing. did the same with the remaining 15" cabinet. i decided i wanted the 18" closest to the sink, the 24" in the middle, and the 15" on the right end by the sliding door to the porch. not the same as the original plan layout, but better for opening and closing cupboard doors i think.

I got the kitchen sink cabinet assembled. then took the two skinny/standard metal rails off the top and replaced them with the special heavier rails to support the sink. then started to assemble the drawer, and ran out of steam before getting to the three drawer-fronts needing to be stacked and screwed to two vertical bars, and then get attached to the drawer. plus the drawer slides. maybe tomorrow.

316

Thursday, February 21, 2019

kitchen post 30 - hanging the uppers

dad came up on tuesday the 19th to take me to lunch and he helped me cut some pieces to fill a small gap smack dab in the middle of my kitchen floor where the laminate keeps sliding open. its been bugging me for a couple years. we pulled up the door threshold between the kitchen and the turtle/computer room, scooted the two lengths of laminate back up where they were supposed to be, then cut and fit in two tiny pieces of laminate between the threshold mounting piece and the existing laminate to hold them there. we're talking like 1/4" to 1/8" (half a centimeter) pieces. then we put the doorway threshold back down in place. it looks great now, no more gap. but i forgot to take any pictures.

then we talked about how to deal with the over-the-window/sink cabinet that is too tall and wont fit above the window. we discussed how to deal with still having a light fixture in over the sink. i use that light as a nightlight for when the roommate comes home or leaves when i'm sleeping. that way he can have a decently lighted path to get to the basement door in the dining room. the living room light switch is only by the front door so even if he turned that light on, he'd have to turn it back off and walk thru the living room to the dining room. it does no good and would wake me up. so having a light in the kitchen works best for both of us.

dad was able to use the pry bar to knock a couple staples loose from the joists up in the ceiling, that were holding the conduit tight in place. so now we have more wiggle room on how high we want to hang the light without having to cut the thru the metal conduit that was hanging a foot down due to the height of the soffits we removed. dad thinks we should get all the other upper cabinets in place and then we can cut pieces for however we want to do that light.

i finished painting the night before
297


next we measured and cut the railings to hang the upper cabinets and got the 30" cabinet in the corner up.
298

with not having that over-the-window/sink cabinet there, all the cabinets can move over two inches closer to the window. so there can be a filler piece between the 30" cabinet and the corner wall. and on the other side i can switch out a 15" cabinet for an 18" cabinet. we got the 24" cabinet hung, and then had to wait for me to run to ikea.
299


today i went to ikea and returned a bunch of stuff. ikea didnt even blink that the two cabinets were assembled (though the doors and shelves were all still unopened). so that was good. they said they have no problem taking back assembled cabinets. and i had the two boxes of remaining parts and the manuals. they said they just put them in their 'as is' area and people snap them up. so i returned:
- 36x15x15" over the window/sink cabinet (and two doors)
- 15x15x40" cabinet (and door, and four shelves)
- four 'low' drawers 30" wide from the two base cabinets
- two 'hidden' drawer fronts for those drawers

then i went upstairs to their kitchen department and bought more of the longer/wider handles and placed an order.
- one 24" long handle 2-packs
- two 18" long handle 2-packs
- three 15" long handle 2 packs
- 18x15x40" cabinet (and door, and four shelves)
- two 'medium' drawers 30" wide (their drawer heights come in low, medium, and high)
- two 5x18" drawer fronts
- two 5x24" drawer fronts

i also picked up some drawer organizers and these half-hoop utrusta partition things that screw to the bottom of the cupboard above my fridge so i can store sheet pans and muffin tins vertically instead of stacked.

i picked the right day to go. after yesterdays snowstorm hardly anyone was there at the returns counter. one person being helped, and then me. didnt have to wait long at all. it was a challenge, loading all that stuff into my little car to haul to ikea. then unloading it and hauling it inside to return. then hauling the new purchases out and loading into the car, and then hauling everything from the car into the house. hard work.

i wanted to fix the drawers right away. i decided i HATE those stupid hidden drawers and they had to go. but i still wanted two drawers up top, i just wanted them to each have their own exterior drawer front and handle. that meant ordering the new 5" tall drawer fronts. separating the existing 10" tall outer drawer front from the drawer, and the exiting 3" tall hidden drawer front from its drawer. then removing hardware that attaches the front to the drawer from the old and putting them onto the new drawer fronts. then attaching the 5" tall new drawer fronts onto the existing drawers. then i had to take the drawer slides off the cabinet for those top/hidden drawers and move them one screw hole farther out like all the other drawers. it was a bit fussy but i got it done. and i'm so happy with it.

the 'hidden' drawer, you can see the open space below where the other drawer with the tall drawer front fits
199

the tall upper drawer in place, hiding the hidden drawer
202

the two lower cabinets on the left are the ones i'm changing the upper drawers on
207

the new drawer setup where each of the two upper drawers now has its own proper drawer front and handle. no hidden drawer. i'm liking it MUCH better. and the new wider handles in place, which i'm loving as well.
300

and i discovered its MUCH easier to put the handles on the not-yet-assembled drawer fronts (and doors) while they're laying flat on a table before attached to the drawer, rather than once its already in place in/on the cabinets/drawers.

i want to get the new 18" wide upper cabinet assembled and get it up on the wall, but i dont think i can hoist it without help so theres no rush.

Sunday, January 27, 2019

kitchen post 29 - mudding and taping in the kitchen

yesterday and today i worked on taping and mudding the joints up where the soffit used to be, and where we patched in new sheetrock to fill the gaps. not my favorite thing. its so fiddly, move the blade wrong and you have to go over it again, and again, and again til you actually get it smooth. *sigh*. and its all made more fun since the lower cabinets and countertop are still in place. i have to stand on the counter to reach, but i'm a few inches too tall to do that comfortably. i either have to keep my head tilted hard to the side, or i have to bend my knees and hips. not comfortable at all.
287

yesterday i managed to get joint compound in my hair. i bumped my head against the ceiling in a place where i'd just mudded. i make excellent messes, *bows*. since i'm not very good at this, i'm going slow and sort of stingy with the joint compound. its a lot easier to put that stuff on the wall than it is to take extra off after its dried, so i figure its better if i go slow and stingy.
288

i dont know how perfect i need to get it, it'll all be covered up anyway. i figure if i get all the gaps filled that *should* be good enough.
289

290

then paint with the primer.
291

then i figured out and marked the stud locations and cabinet locations for how to hang the support rail pieces.

i'm concerned the wiring for the old light over the sink wont work with the new cabinet i got for over the sink. the new cabinet is 15" tall, the old soffit was 12" tall. the wiring is 3" too short to reach the bottom of the cabinet. and thats going straight thru the middle. i'd prefer to string it along the back so its more out of the way rather than running thru the middle of the cupboard.

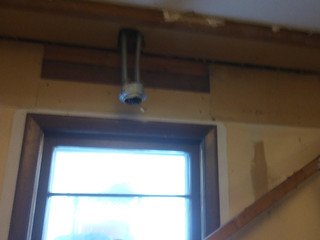
but its also weird wires. two *separate* conduits hang down from the ceiling. one wire runs down one conduit, into the electrical box, and up the other conduit, uncut. then each of the two conduits has another separate, single wire hanging down, and connecting to the light fixture. i assume the continuous wire has something to do with the light switch, maybe? i dont know. plus, each conduit is on either side of a ceiling joist. its just odd.

Sunday, January 20, 2019

kitchen post 28 - kitchen shelf and starting on the OTHER side of the kitchen

My elderly dog is in end stage kidney failure, so kitchen things have slowed down while I take care of him.

over the last two weeks i worked on installing the kitchen shelf for the microwave and the toaster oven. given its location, only two shelf brackets in the middle hit studs. so i got them installed. but the ends were floating and sagged a bit. i had bought three brackets, so i went back and bought a fourth. then i used wall anchors to install the two end brackets.

i set the shelf in place and then cooked something on the back right stove burner and the steam coming up along the edge of the shelf had me concerned, with it being a sort of pressed wood/melamine type product. so i asked dad to cut almost two inches off so i could scoot the shelf ever so slightly to the left away from the stove and steam. we've been having freaky warm weather for minnesota, above freezing in january! so dad was able to cut it down for me on his saw out in the garage.

i set the shelf in place a second time and realized i needed a hole for the cords if the shelf was going to be screwed to the brackets. so i drilled a hole using the smaller paddle bit, but then realized the microwave plug was a bigger 3-prong plug, and to unplug it while the toaster oven was still plugged in, i needed a bigger hole. but i couldnt make the bigger paddle bit work with the center hold already cut out, so i made another hold with the smaller paddle bit next to the first hole, and used a chisel to connect the two. well, uh, my chisel is really sharp. i stabbed myself with it three separate times. two required bandaids. one was really bad and required a paper towel and pressure to slow the bleeding. this is why i cant play with sharp objects.

the shelf is in place, screwed in, and the microwave and toaster oven are up on it, right at my eye level. so then of course i realized how dirty they are and had to clean them. sadly, the 'fume free' oven cleaner stuff i had didnt work on the toaster oven. i'll have to pick up some better stuff. but i'm scared of the heavy duty oven cleaner stuff, i got a chemical burn from it once, ate thru the skin on my elbow. very painful. and did i remember to take a picture? nooooo! so you have to imagine for now.


today dad came up and we took down the three upper cabinets. the overhanging/peninsula one was only held in by four screws, two in the ceiling, two on the wall. it was a heavy cabinet! we propped it up with my step stool and some big books, and then hauled it downstairs. the other two upper cabinets were nailed in place and i pulled the nails out, three for each cabinet, two at the top stud, one at the bottom of the same stud. thats it! it doesnt seem like enough to hold those heavy cabinets fully loaded with dishes and stuff up on the wall. then we hauled those two downstairs too.

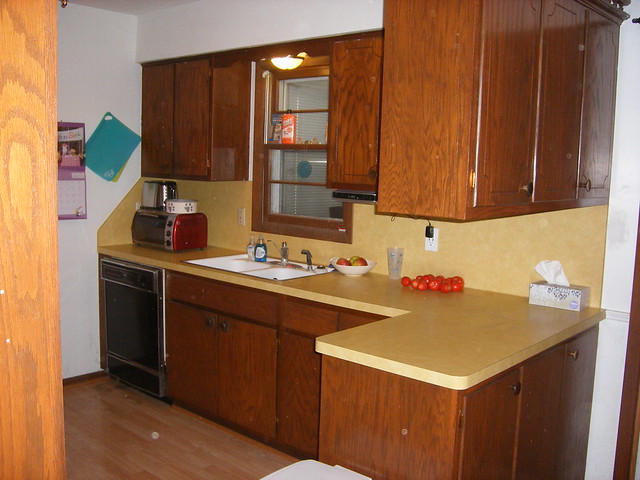
the upper cabinets
10-25-2018   (139)

the overhanging/peninsula cabinet goes all the way to the wall and has 3 doors on its backside.
10-25-2018   (141)

dad used the sheetrock knife to score the edges of the sheetrock around the soffit, and cut the end open on the soffit to peak inside. i was worried about blown in insulation in there, but hardly and insulation was in there. so we went to lunch at arbys. their fish sandwiches are back and they have good fish sandwiches.

the soffit, and the little stool with the books we used to support the upper cabinets after pulling the nails, before lifting down to the floor.
280

the soffit partially removed
281

when we came back we unhooked the light fixture that was over the sink. then dad cut the soffit into pieces with his jigsaw and that got pulled down. there were a couple pieces of sheetrock to patch in. but the only sheetrock left was what we pulled down from the soffit. which was HEAVILY plastered. we made it work.

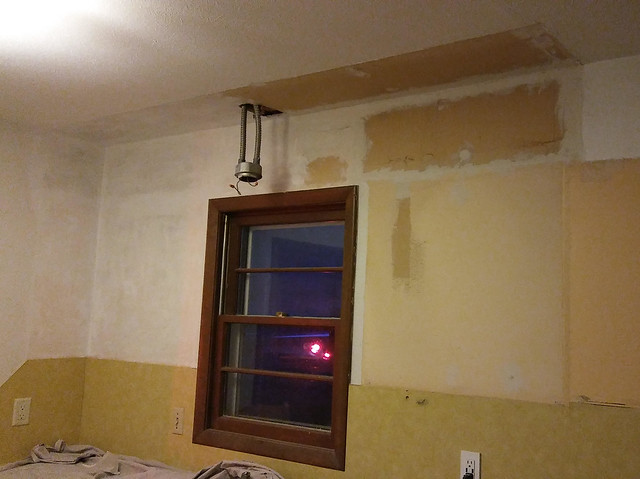
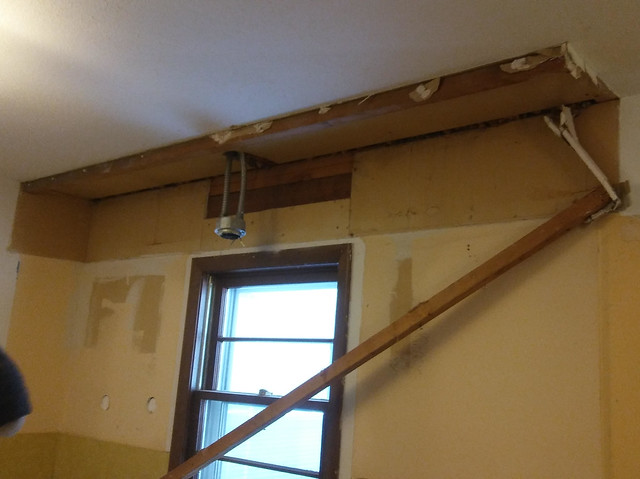
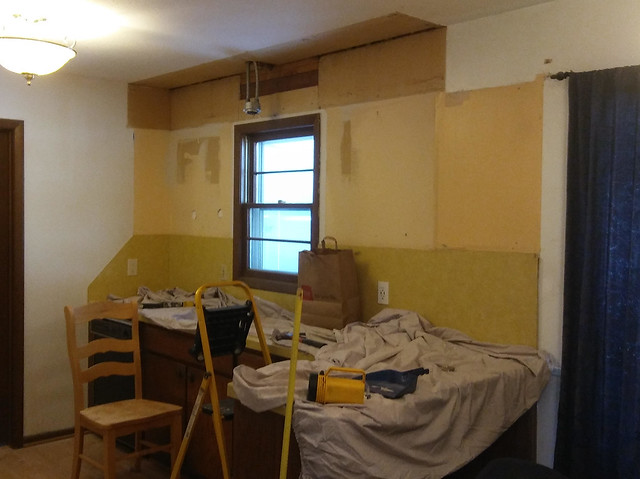
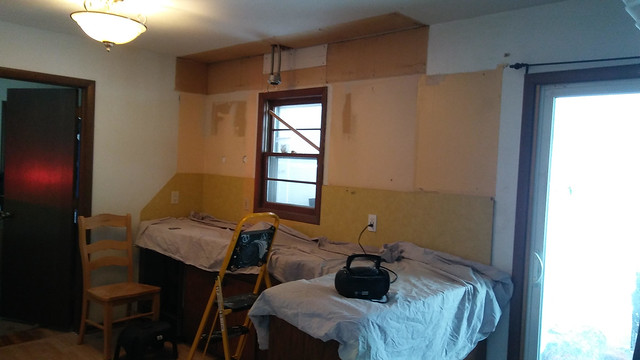
the odd conduit where the old light fixture was, and the wood header above the window that needed sheetrock patching
282

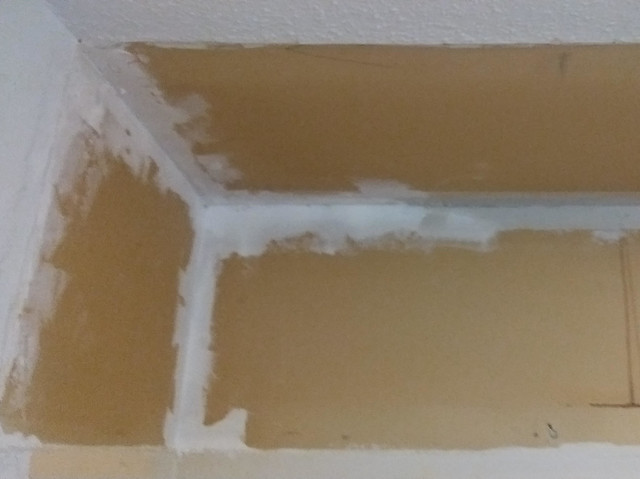
soffit-less wall!
283

drop cloths and mess
284

the sheetrock patch over the window
285

now i have some cleaning up to do, scraping the plaster/mud at the edges of the soffit. painting. taping. mudding. assembling the upper cabinets.

puppy hung out in the porch, and i kept checking on him. made him come inside when he started shivering. covered him up when he kept shivering. and went outside with him to make sure he could get back inside.

the third time we carried a cabinet downstairs, puppy FOLLOWED us down! he hasnt gone down to the basement in months. unfortunately he had an extremely difficult time getting back up and i had to help lift him a couple steps. but i was impressed he made it down.