i did a bunch of googling about sinks made of the different materials. obviously i'm not interested in the porcelain/enamel types since thats what my old, ugly, chipped, stained, despised sink is. stainless steel is what i initially chose to replace it.
but now theres acrylic sinks, pressed granite, or pressed quartz sinks. and after all that information overload, i've decided screw it, i'm just sticking with stainless steel. and returned the top-mount sink and ordered an under-mount sink. the only undermount sinks the store had in stock were twice what i wanted to spend, without anything i could see making them better. oh they include the sink strainers, great. thats less than $30, not another 200. they werent the thicker gauge steel. they werent larger or deeper. i chose the $155 one i had to order, not the in-stock one that was $369. i couldnt figure out what made it cost $200 more. the under-mount sink was about $60 more than the top-mount sink.
still havent really sorted out which counters i want. need to make another trip to ikea to ask questions about mounting quartz countertops on the cabinets.
i glued up the special pieces to the inner peninsula corner filler pieces so they could be screwed to the cabinets, and let the glue dry a couple days.


one of the L shaped inner corner pieces broke off its glue after i had installed it while i was trying to install the other piece. not very reassuring on the glue! i got the other piece in. unscrewed the piece that came unglued, and re-glued it using another kind of glue. i let that dry and got the filler piece between the peninsula and the porch door installed.
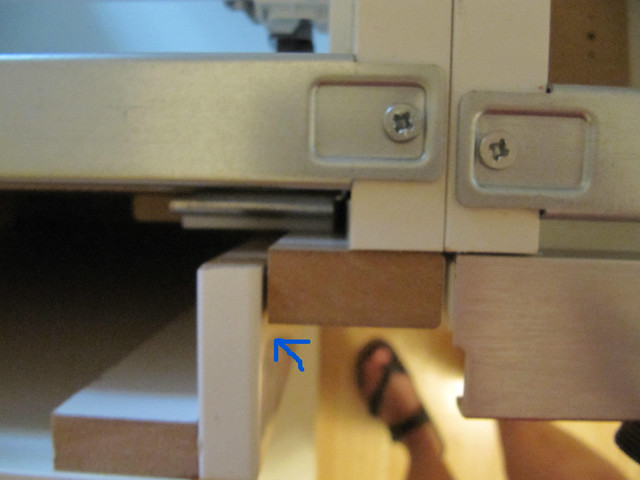
this is the first filler piece attaching to the side of the cabinet next to the sink

this is the second filler piece attaching to the back of the peninsula cabinet facing the dining room. i had to use the backer board piece as part of the filler piece in order to be able to attach it to the cabinet.

those two filler pieces - they are NOT attached to each other. they are screwed individually to the separate cabinets.
the cabinets before the filler pieces

peninsula inner corner filler pieces are in!


the inner peninsula corner filler pieces gap at the top. all those filler pieces need caulking. but i want to do the caulking all in one go since its from a big caulk tube. i dont want it to dry out between uses. so i have to wait until everything is finished.
i picked up some cabinet catch/latch things from menards that dad thinks will hold the dishwasher panel in place and let it be removable if needed.


No comments:
Post a Comment