Wednesday, October 24, 2018

knocked out a bunch more cabinets

woke up SO sore this morning. hands, wrists, arms, shoulders. muscles not used to being used.

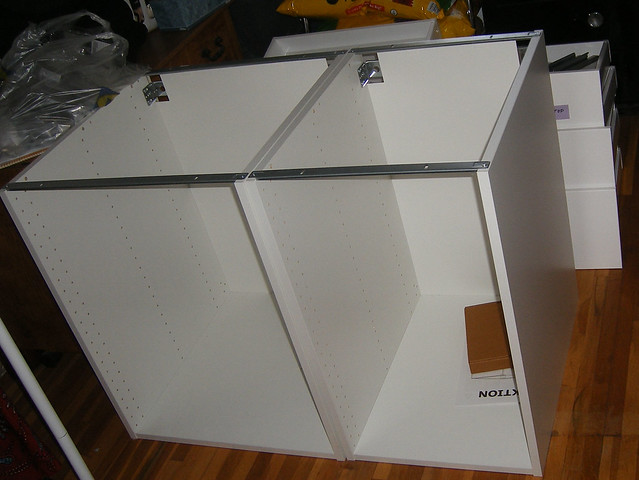
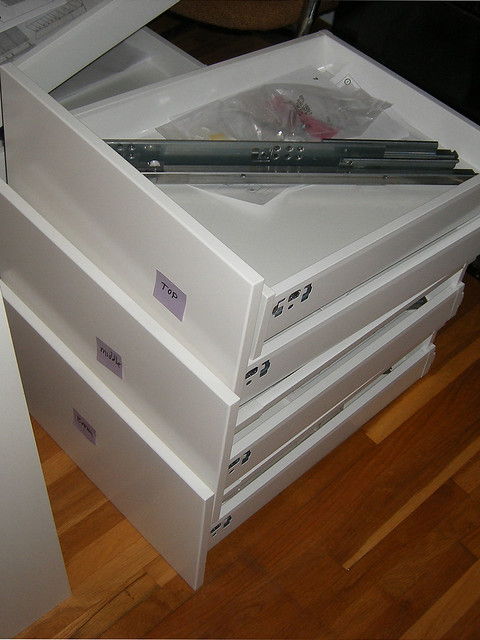
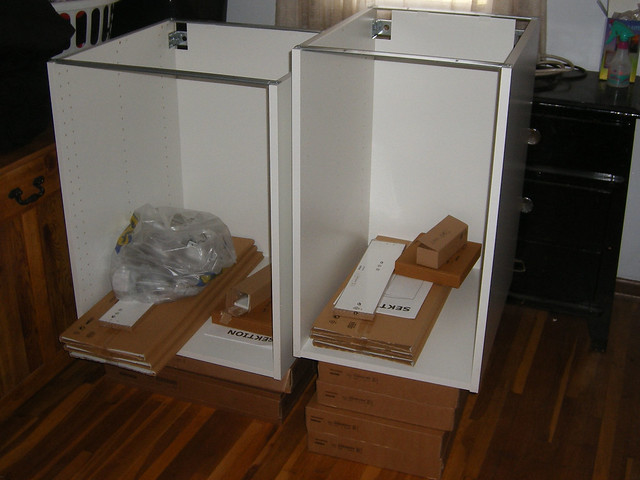
today I put together the 4 drawers for the second base cabinet (assembled yesterday).

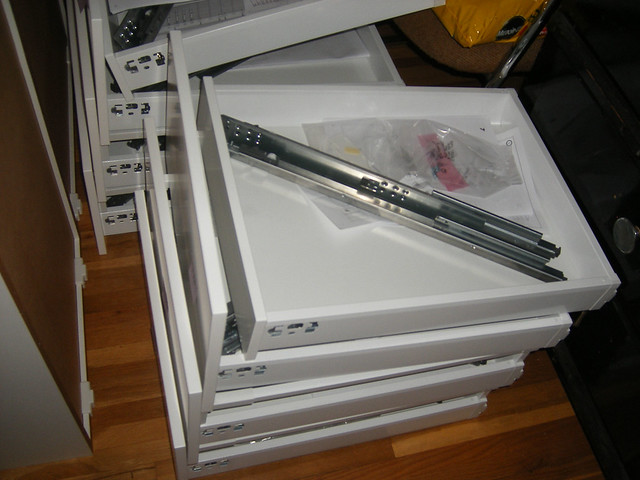
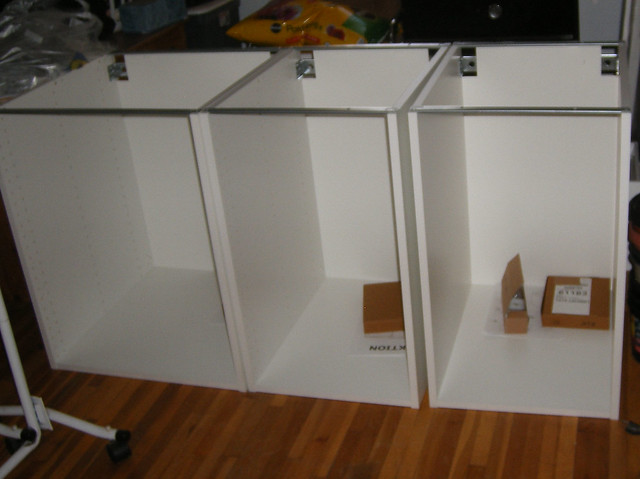
I put together 3 out of 4 drawers for the third base cabinet. the 4th drawer is waiting on its drawer-front to arrive before I assemble that one. (one drawer-front and one cabinet door had to be shipped out/weren't in stock.) then I put together that base cabinet. so the three base cabinets and 11 out of 12 drawers are assembled and ready to install.

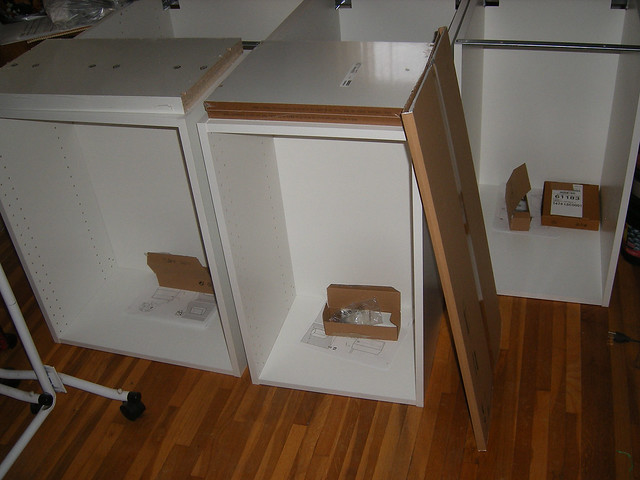
then I assembled two of the upper cabinets. (one with the missing door). and matched their shelves up.

there are still three upper cabinets left to assemble.

I need to start taking down the old cabinets. its gonna get messy so I keep putting it off. but the new stuff cant go in til the old stuff is gone.

dad suggested we get the second half of the kitchen delivered. we'll go in next week and finish the order.

making space for the drawers
12

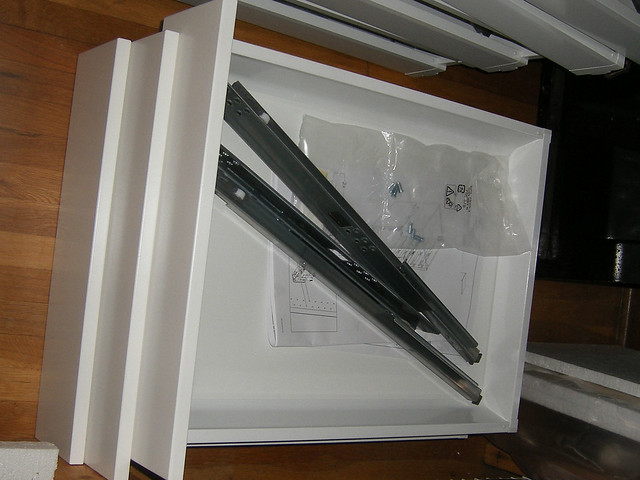
four drawers here for the second base cabinet
13

see? four.
14

the skinny 18" drawer and drawer front boxes. gotta make sure you get the part numbers right. there are a lot of boxes the same size with different numbers.
15

third base cabinet assembled
16

three out of the four drawers for that third cabinet (fourth one is missing its drawer front)
17

two of the upper cabinets and their door and shelves (one missing door)
18

Tuesday, October 23, 2018

putting cabinets and drawers together

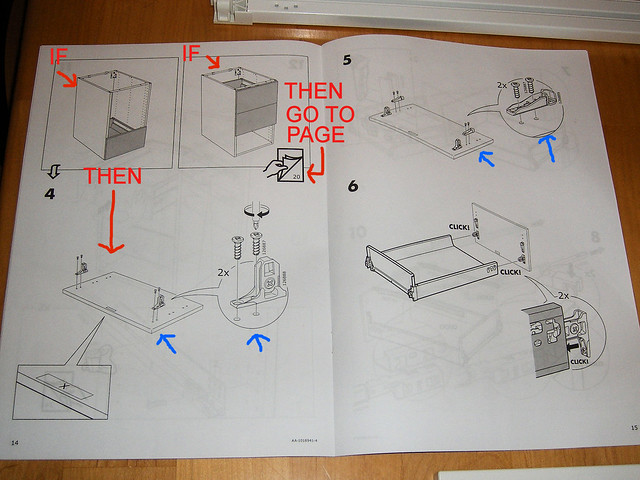
I've started putting cabinets together, starting with the last ones we'll need for the fridge/stove side, and stashing them in the spare bedroom so that the last ones needed are farthest back, and first ones needed will be up front. the cabinets were easy to assemble. the drawers ended up posing a much bigger challenge. the instructions just werent clear enough.

each drawer is assembled differently.

-the top inner/hidden drawer has a different smaller drawer front, so the drawer front screws go in one location.
-the top outer drawer has the same drawer as the inner/hidden drawer, but a normal drawer front. so the screws go in that drawer front in another location.
-the middle drawer is a different drawer from the top and hidden drawers, with the same drawer front as the top/normal drawer. so those screws are again in a different position.
-and the bottom drawer is the same drawer as the middle, same drawer front as the middle and top, but being located on the bottom of the cabinet needs the drawer front screws in a different location.

I had to go on youtube and watch multiple videos to get clarity on how to *follow* the wordless ikea drawer assembly instructions to get each drawer put together correctly. and I decided to follow someones idea to label each drawer with top/middle/bottom sticky notes so I dont screw it up when its time to put the drawer slides on and all the drawers in place in the cabinets. from looking around online, it seems like people dont screw the drawer slides into the cabinets until after the cabinets are in place in the kitchen. which makes sense. tilt the cabinet even slightly and the slides roll out and poke you in the legs or trip you. (this happened when I assembled my ikea bed with drawers. I tripped on drawer slides and got stabbed in the legs multiple times. there was lots of swearing, and I'd like to not do that again.)

so far I've got two base cabinets and 4 drawers (from one cabinet) put together. I'm having a little trouble making room for all these drawers. they dont stack nicely. I think I'm gonna run out of room in the back room. maybe I should have just started on the upper cabinets and left the lowers until later.

I'm also panicking that we should go back to ikea ASAP and get the rest of the kitchen because it'll be too crowded with people trying to squeak out at the last moments of the kitchen sale, and ikea will run out of the kitchen parts I need. because the sale only goes thru Nov 11 and the employees said the later it gets in the sale, the more people come in. but I'm not sure its reasonable to panic about this. on the other hand, its only like two weeks left in the sale, so maybe it is? ah the joys of panic.

I also switched from using a screwdriver to using the drill to put the screws in. its just too hard on my hands, too many screws. but I might need to pick up a new phillips head bit. mine is looking a bit worn down and I dont want to be stripping all these new screws in my cabinets.

first two cabinets
4

drawers
5

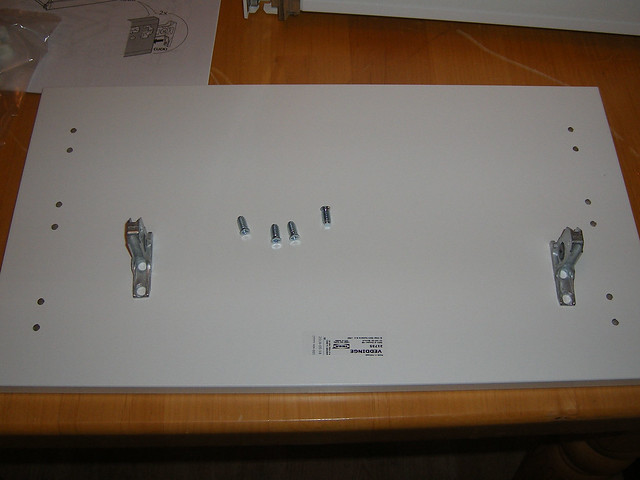
drawer front and hardware
6

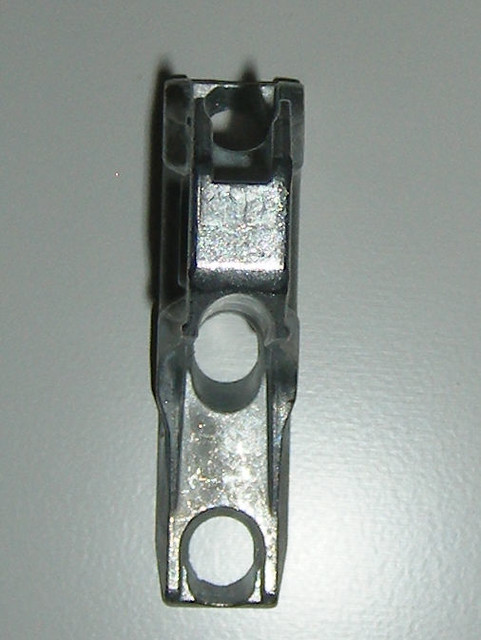
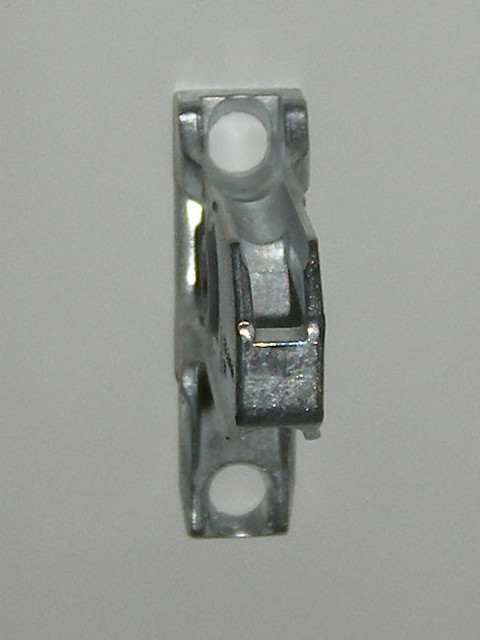
theres three holes but you only use two of them
7

which two you use is very important and changes with the different drawers
8

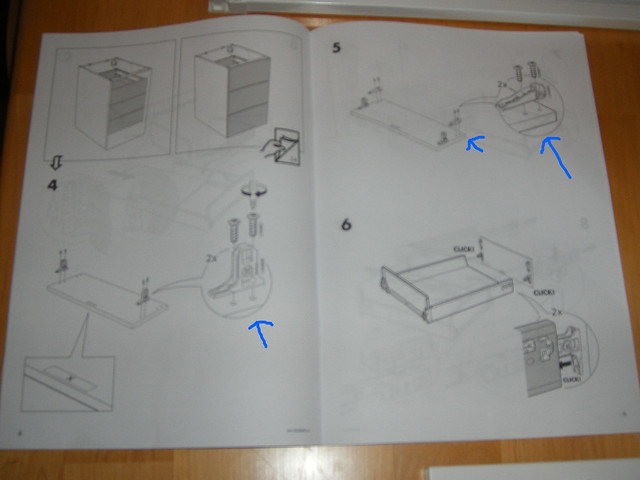
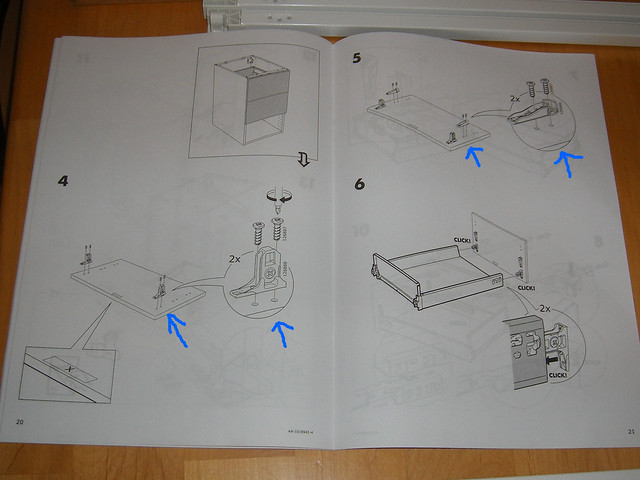
this is where I needed online help. once it was pointed out I was like 'DOH!' how obvious! but I didnt see it until I had help. the manuals give you two pictures. the first one goes with the instructions that follow directly below. the second picture refers you to a page farther on in the manual. and if the second picture isnt right either, still go to that page referenced. there is often another set of pictures referring you on to another page even farther in the manual.
9

and on those pages the different screw and hardware locations is very subtle
11

10

Monday, October 22, 2018

more planning and buying the first half of the kitchen

I worked on finalizing my kitchen plans, and made a run to ikea to sort out my list of questions. ikea is about 40-45 minutes away from me during normal traffic. and I'm only willing to drive there when I can get both there and back avoiding rush hour. because rush hour will turn it to a 2 hour drive or more.

so after I got the plans finalized, I had to empty out all my cabinets on one side of my kitchen. to avoid ikea's high delivery charge ($99) we're picking it up with dads truck and hauling it home ourselves. so my kitchen plans are divided into 3 loads. fridge/stove side which has the least amount of cabinets. then the sink side will be divided into two loads (uppers and lowers) because its more cabinets, and wouldnt fit in dads truck in one load.

then it took three days for me to sort and pack away enough stuff from both sides of the kitchen to relocate the necessary things from the stove/fridge side over to the sink side. I packed away 9 boxes of kitchen stuff. it was a lot of work. I ended up also clearing out my dining room hutch of the lesser used stuff so i could put more stuff over there.

I moved all those boxes downstairs. I had thought to store them to the back bedroom, but theres too many of them. I need that space for staging of new cabinets.

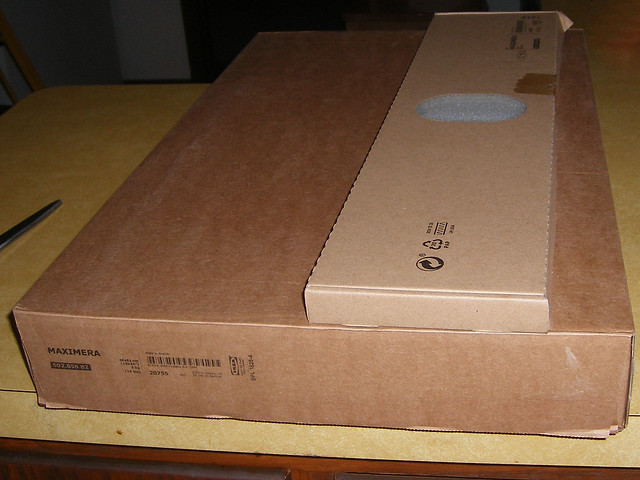
ikea is having their 10% off kitchen cabinet sale right now. so dad took us to ikea and we bought the first load of cabinets and hauled them home. it filled his truck bed. 2 parts (1 drawer front and 1 door) werent in stock and were arranged to be shipped out to me for $9 so I wouldnt have to drive back in and pick them up.

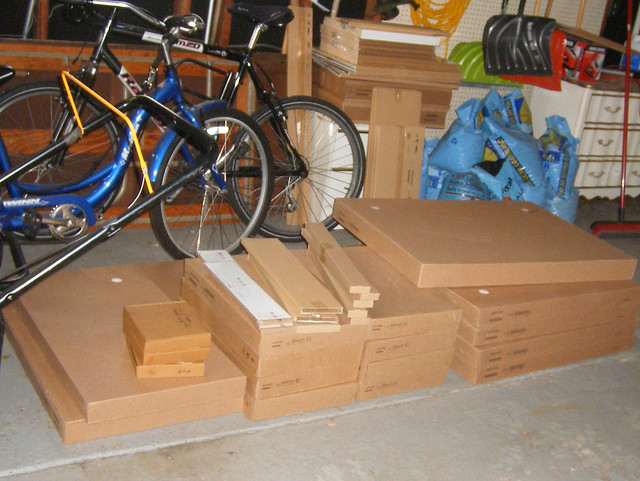
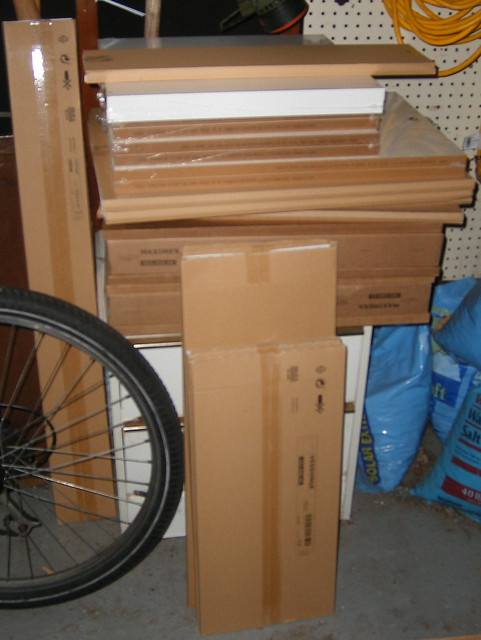
cabinet boxes and drawer boxes
1

drawer fronts and shelves
3

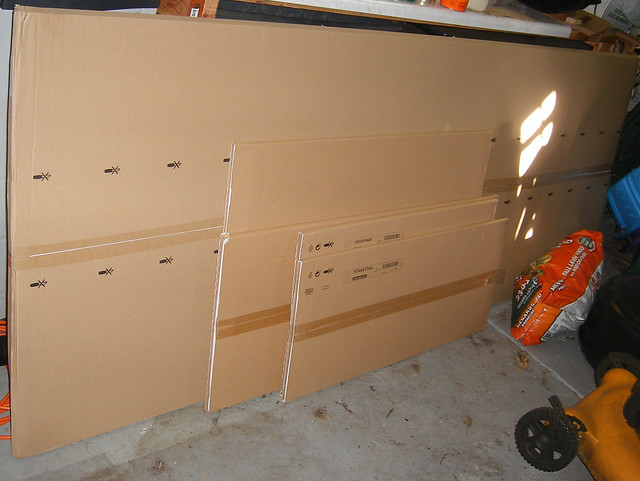
the large refrigerator panel and cabinet doors and end panels
2

Wednesday, October 10, 2018

kitchen planning

I've been playing with ikeas kitchen planning software for two years now. I find it grand fun to try it this way or try it that way. you can save at least 12 different plan ideas, probably more! but thats the most I kept saved. as I'd make new plans I'd erase the ones I no longer wanted. the ikea plans tell you the cost for that set of plans, and has an inventory list of all the different parts.

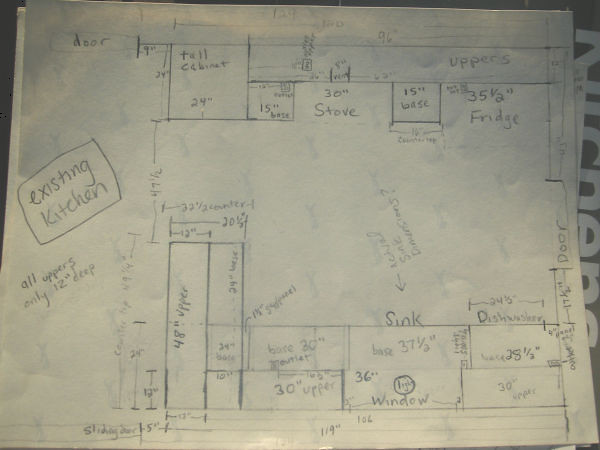
I started out taking all the measurements of my existing kitchen and drawing them up by hand so I knew what i was dealing with. room size, door and window locations, all that good stuff.
.3-29-17 059

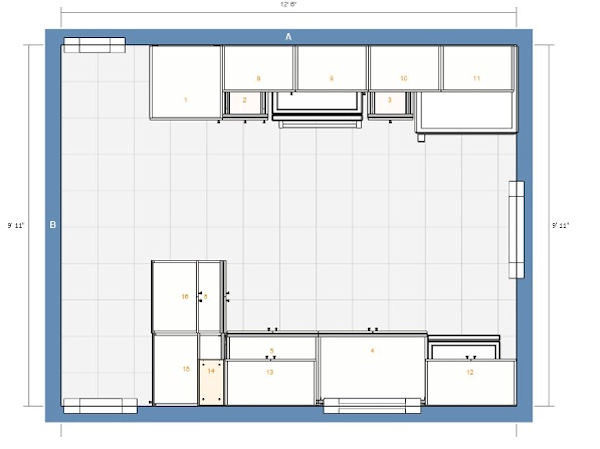
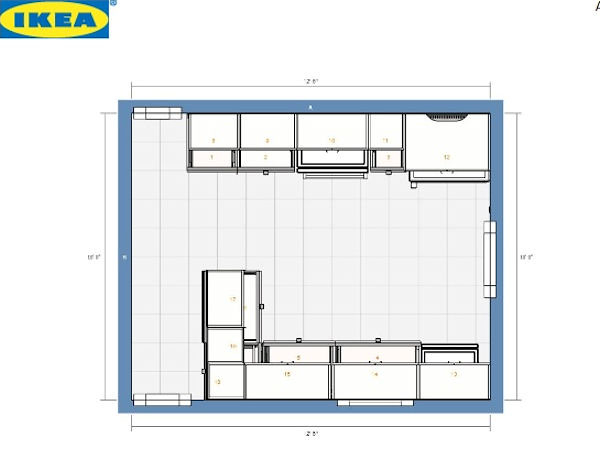
this shows the ikea version of my existing kitchen, as best as I could mock it up with what sizes of cabinets they had to choose from. (overhead view)
.existing kitchen layout

and my very first ikea kitchen plan. (overhead view)
.kitchen layout

a variation near the end of planning, where I planned to put the microwave and toaster oven in those open shelves below the upper cabinets on the left.
kitchen

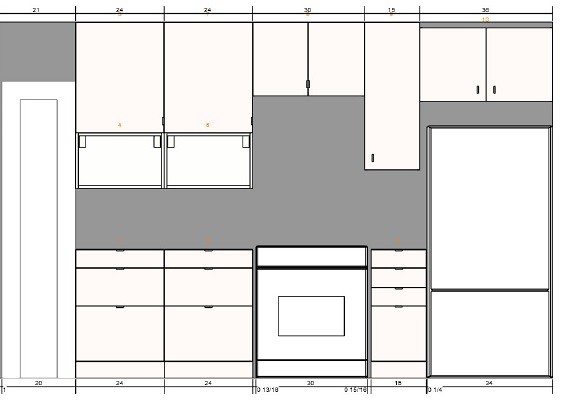
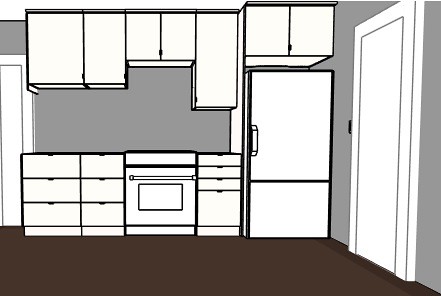
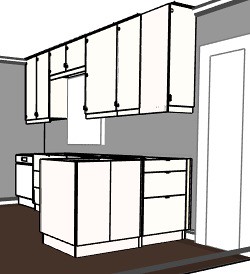
final plans, fridge side. I decided an open shelf under the upper cabinets on the left would work better than closed in ikea boxes. the door on the left is the living room, the door to the turtle room is on the right. the kitchen is open to the dining room on the left side.
kitchen fridge side

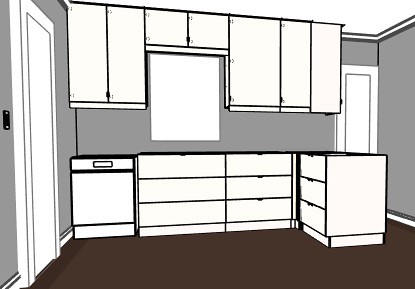
final plans, sink side. the door to the left is the turtle room. the door on the right is the sliding door to the porch. there is no actual wall to the right, its open to the dining room.
kitchen sink side

view of the sink side from the dining room, showing how the only corner cabinet will be facing the dining room, so I dont have to do a lazy susan or actual corner cabinet. and there will be no cabinets over the peninsula in the new plans (unlike the existing plans where those cabinets block out a lot of light).
kitchen sink back side

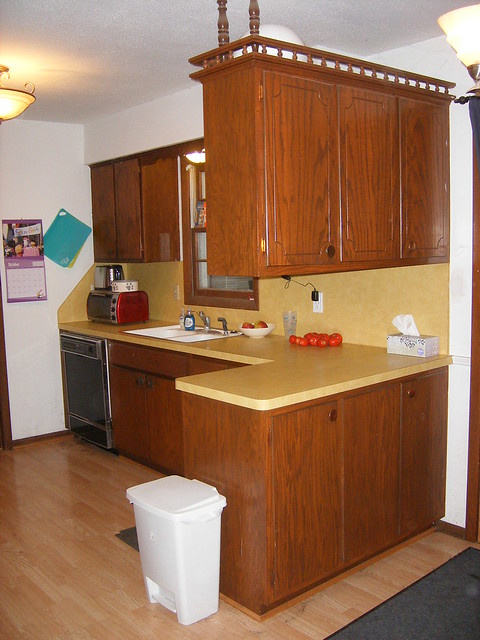
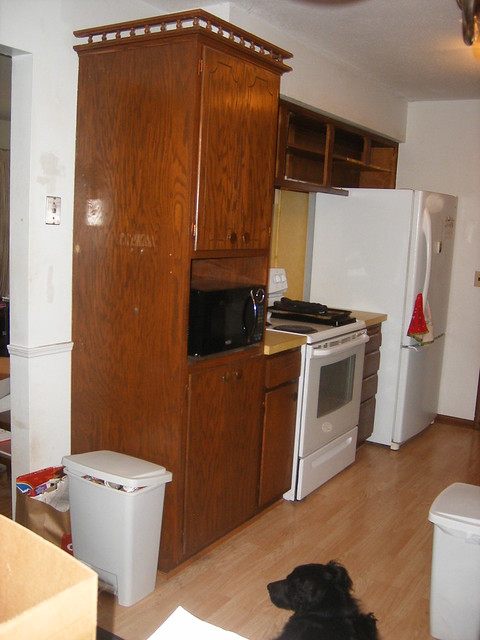
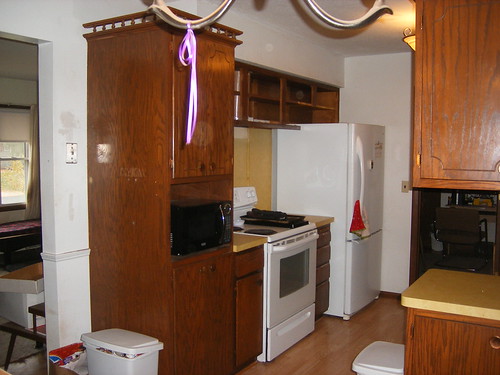
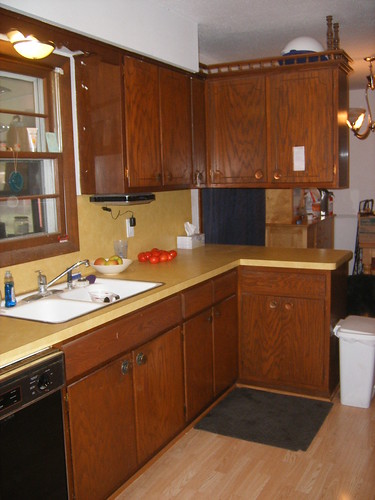
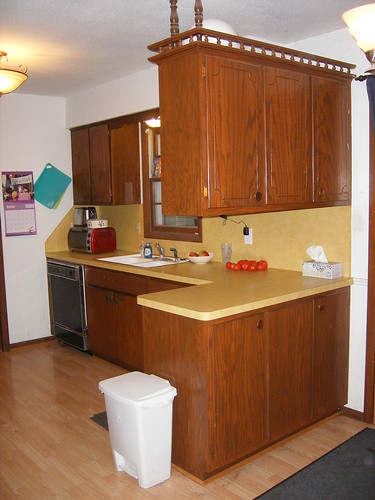
reminder photos of the existing kitchen
10-25-2018   (140)

10-25-2018   (141)

10-25-2018   (138)

Monday, October 1, 2018

kitchen remodeling

My parents have very generously offered to pay for a kitchen remodel for me.

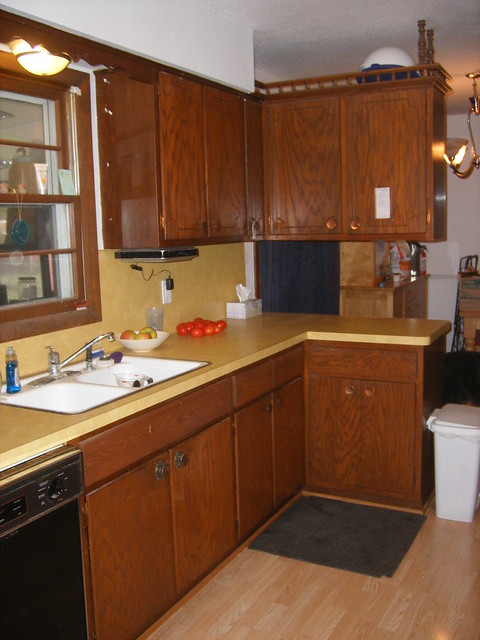
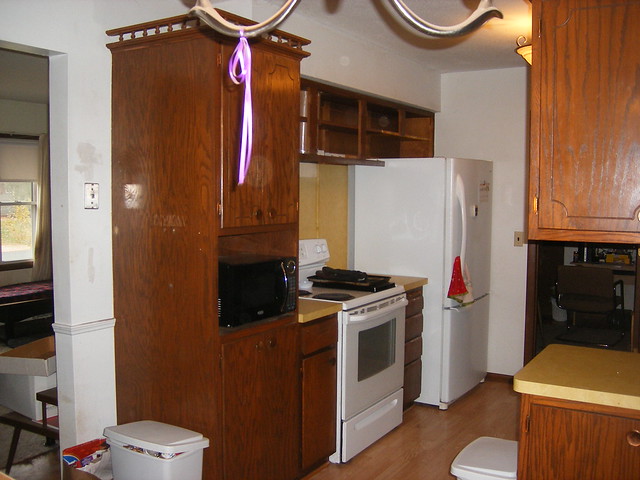
My kitchen is very dark and dreary. and stuck in the 70's. I've lived with this kitchen for 15 years, and done what I could to brighten it up. but I really hate these dark cabinets.

this is my kitchen. dont let the camera flash fool you, it is NEVER that light or bright in there.
10-25-2018   (141)

view from the other end
10-25-2018   (138)

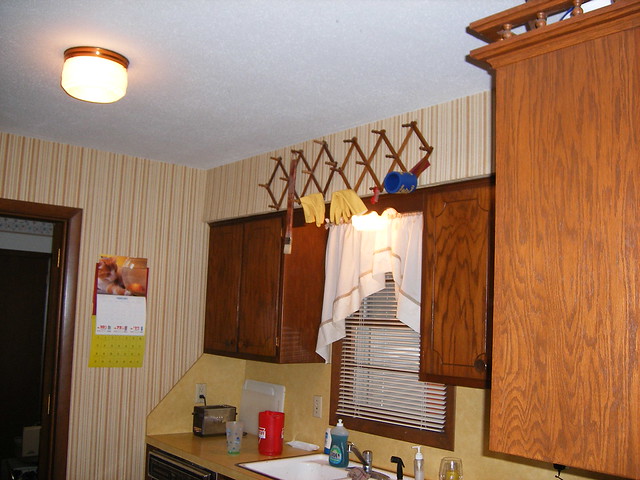
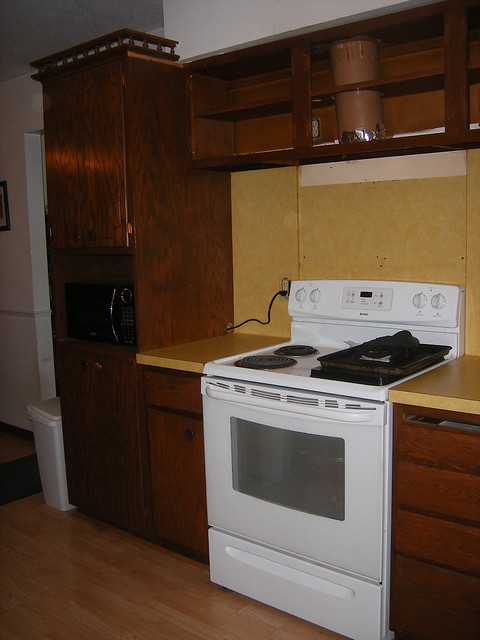
this is more what the lighting looks like at its very best, with everything i've done to brighten it.
10-25-2018   (144)

view from the other end
10-25-2018   (146)

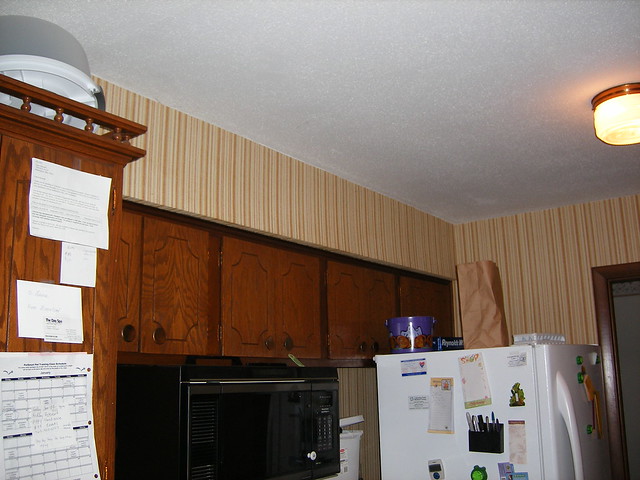
i got the house at a great deal because of its stuck-in-the-70's decor. it came with this lovely wallpaper in the kitchen
3-4-06 005

orange and brown and green stripe
3-4-06 004

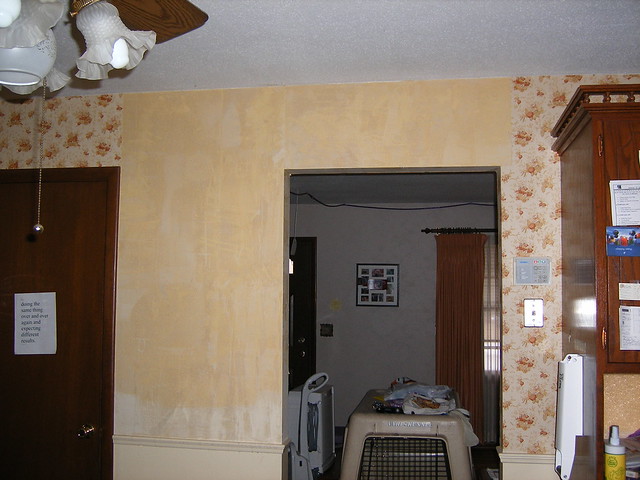
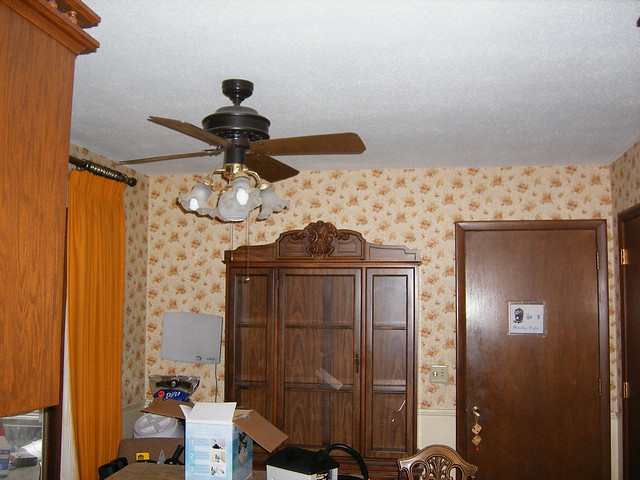
and this lovely wallpaper in the dining room. and the orange curtain for the porch door. and the ceiling fan that looked like it was going to take off from the ceiling when turned on.
3-4-06 001

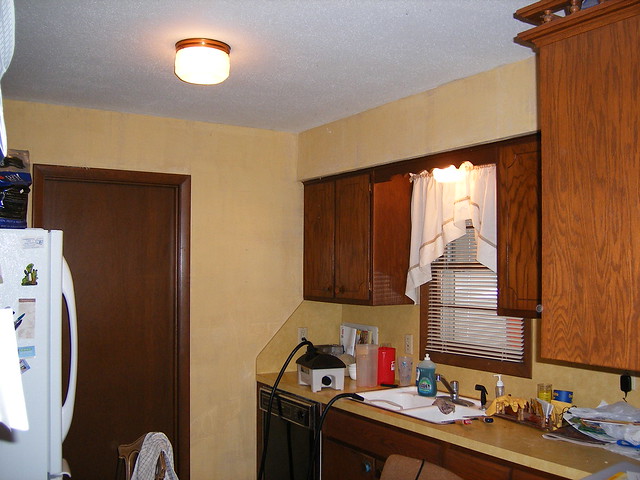
wallpaper removal revealed yellow walls to match the yellow countertops
3-10-06 002

3-4-06 002

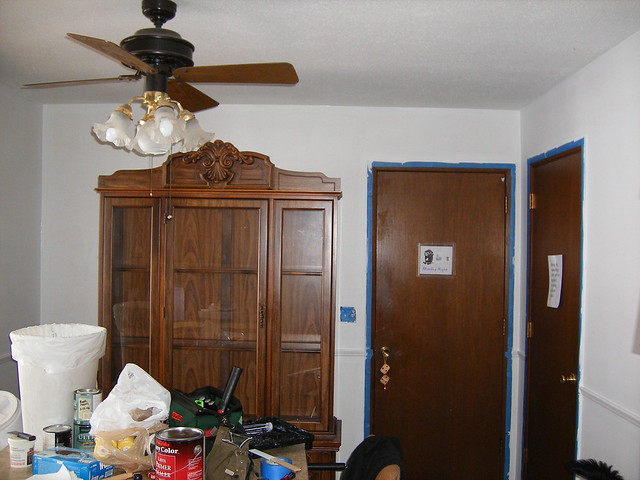
I fixed that. the walls are painted 'ultra white', in my never ending quest to brighten it up.
3-22-06 046

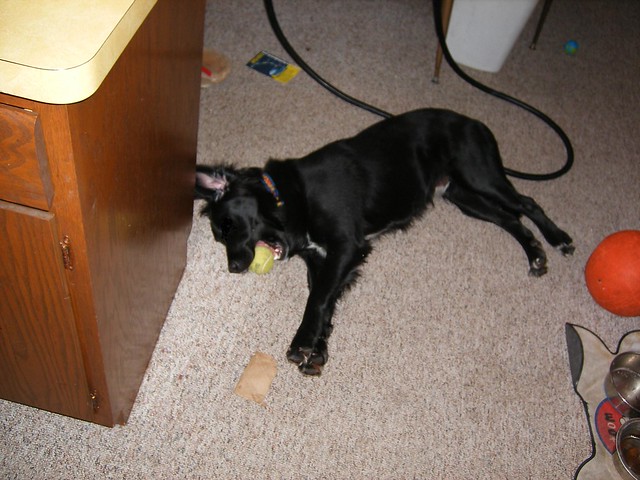
there was carpet in the kitchen. my dog Puppy is about a year old in that photo and fell asleep with his tennis ball in his mouth.
3-10-06 001

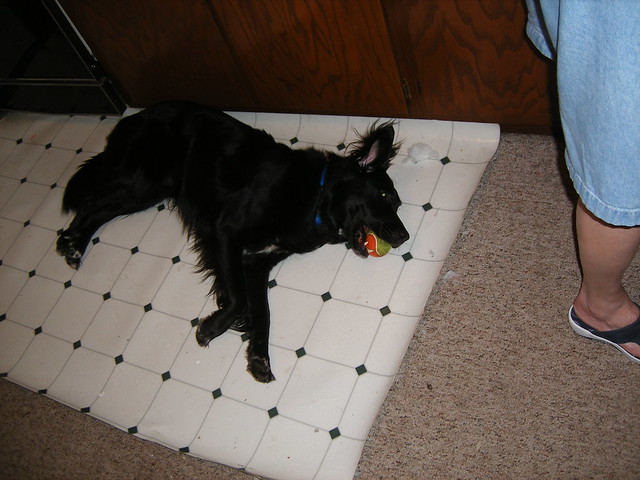
my linoleum 'throw rug' in front of the sink. another day, another ball for Puppy.
6-22-07 047

under the carpet, yellow linoleum
8-16-08 003

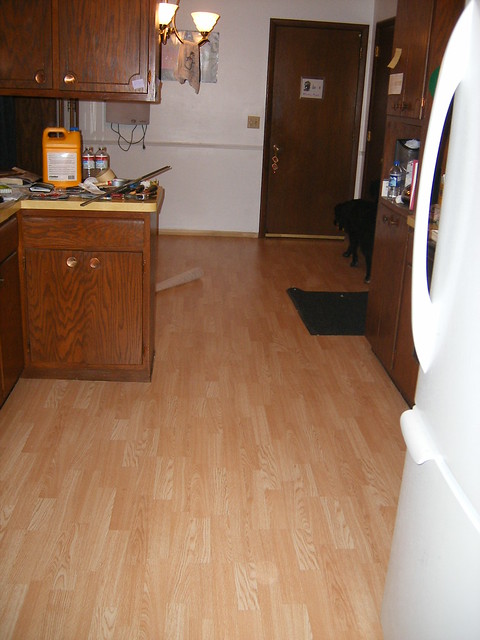
dad and I fixed that with laminate flooring
8-16-08 063

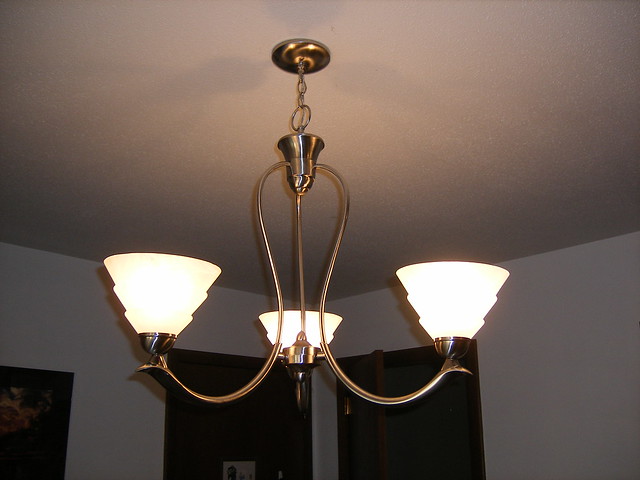
I replaced the flying ceiling fan in the dining room with a chandelier. I wanted the lights pointing upwards so I would never have to stare at bare bulbs. (pet peeve)
12-8-06 006

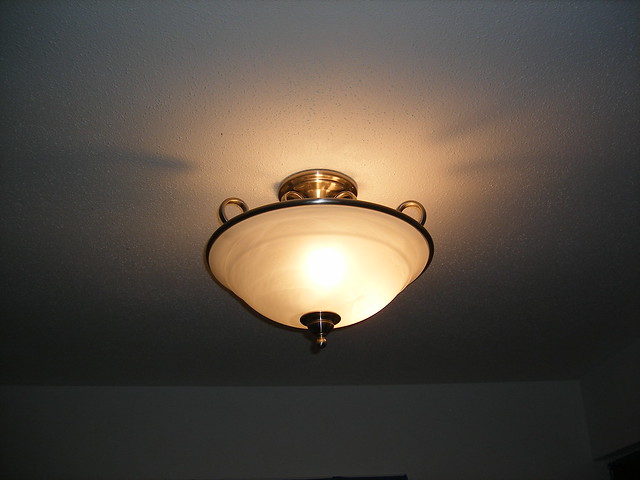
I replaced the 2-bulb kitchen light fixture with a new 3-bulb one trying to add more light. it helped, but nowhere near enough.
12-8-06 007

I picked a fixture that wouldnt require me having to take a cover off to replace the bulbs
12-8-06 008

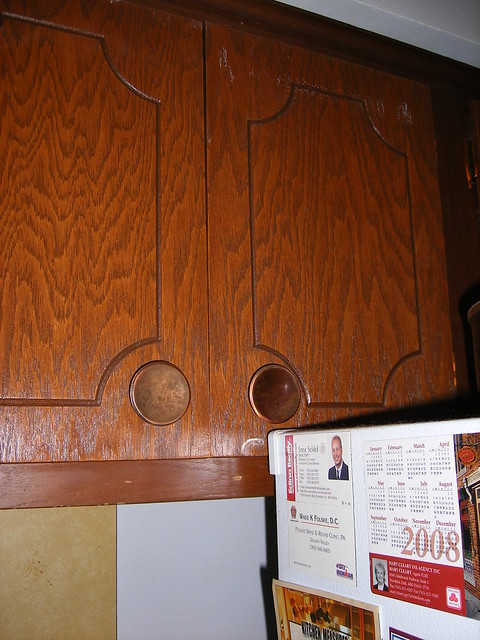
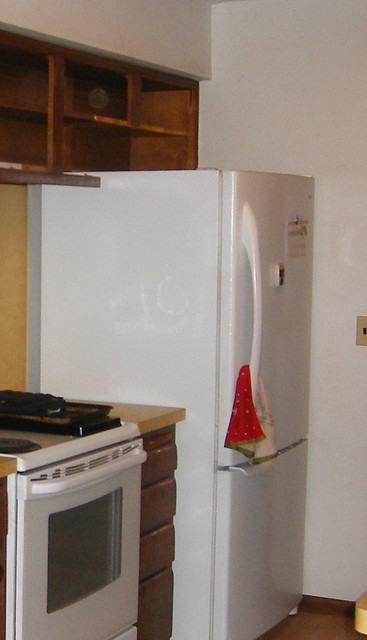
when I got a new fridge I didnt pay attention to height and it was about 2 inches too tall to fit
10-24-10 051

I asked dad come out and cut the bottom off the cabinet over the fridge to make it fit. I couldnt reach the cabinets up there anyway and never used them so I didnt care about destroying them.
10-25-2018   (140)

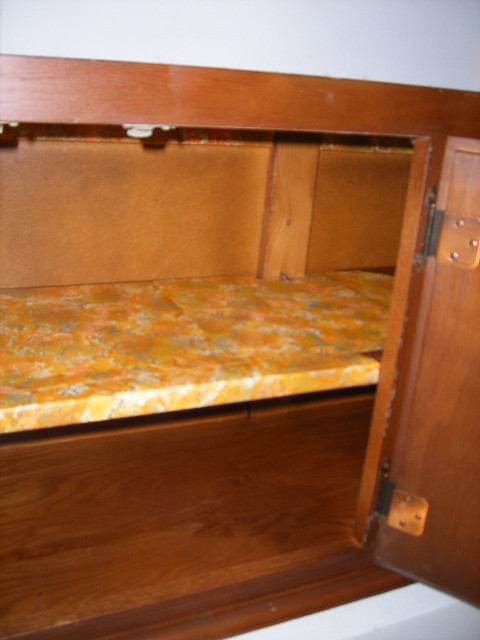
orange and green shelf paper. I covered it up with white. it was so old it would NOT peel off.
10-24-10 047

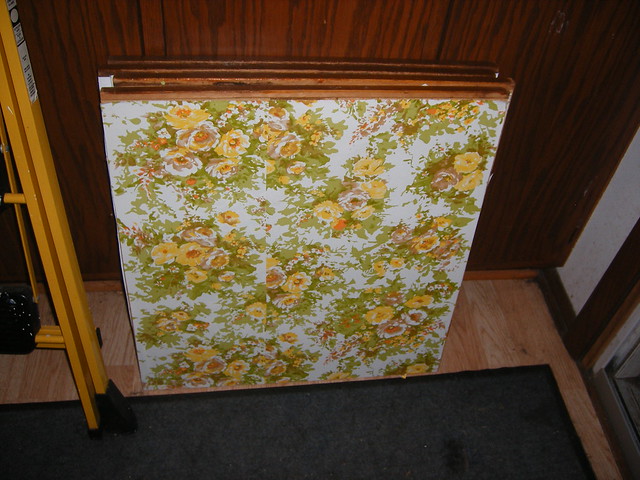
green and yellow and orange shelf paper
11-17-2018  (92)

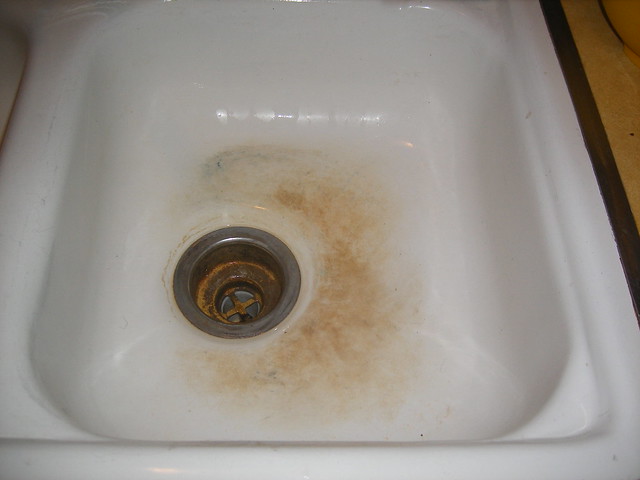
the porcelain sink is impossible to keep clean. I have to keep bleaching it out.
4-1-14 035

and the light switch for the kitchen? its at the back of the kitchen next to the fridge and the door to the computer/tortoise room. there is no light switch in the kitchen by the door to living room. its a pain in the ass. for a while I used a special battery operated switch linked to the original switch, but it made the light bulbs burn out every 2-3 months! it worried me and my dad so I took it out and now the bulbs last a year or more again like they're supposed to. I want to wire a second light switch near the door to the living room.
10-25-2018   (140)

so thats it, thats my old dark kitchen. and all I've done to it in the 15 years I've lived here.