we cut out two holes in the top of the cabinet for the two conduit wires coming down from the ceiling with a paddle bit.


here you can see the two separate metal conduits coming out of the ceiling that we drilled the holes for. one on either side of the ceiling joist.

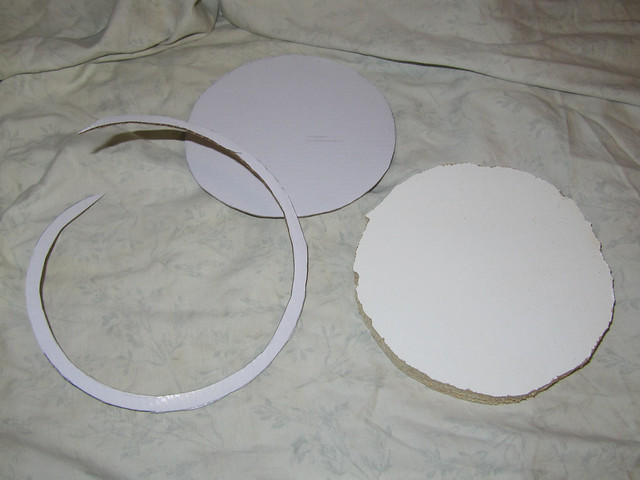
then i used my dremel with a mulipurpose cutting bit to cut out a hole for the light fixture on the bottom of the cabinet. i'd never used that before, and i didn't do a great job. the edges were a bit of an uneven wobbly mess. i'm sure if i practiced more i'd do better, but it was good enough. here is the cut out piece from the hole.
we held the cabinet up and pushed the metal conduit ends thru the top of the cabinet and then mounted it on the rail. dad attached the conduit ends to the electrical box and screwed the box to the top of the cabinet.

we attached the light fixture to the bottom of the cabinet in the hole i cut out.

and wired it in place. to attach the special box for the LED low-profile light fixture to the back of the cabinet we cut and shoved a slim plywood board behind the cardboard cabinet backing so we'd have something to drill into.

below the box you see that white wire? one end plugs into the other end. so in like 13 years when this LED light is expected to give up the ghost, i could buy a new light fixture. all i'd have to do is unplug the old and plug in the new. the light fixture is held up in the cabinet by two spring clips, so the whole thing would be quite easy to replace. it cost the same as a regular incandescent bulb fixture cost, and had a lovely flat profile, so we chose the LED instead of the regular type.
and poof i have a night light again! no more leaving the dining room light on with only one bulb screwed in.
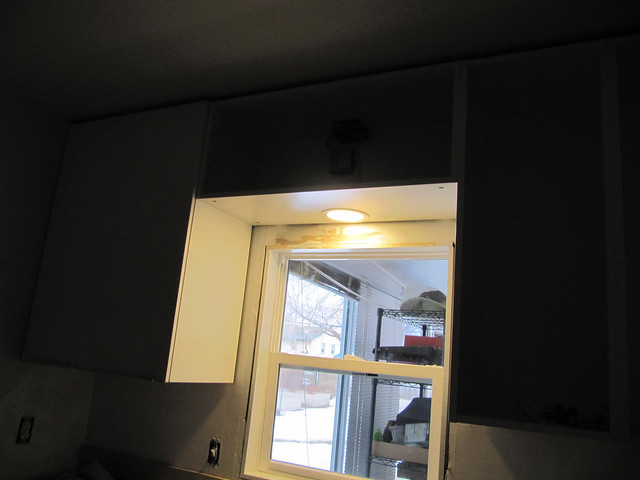
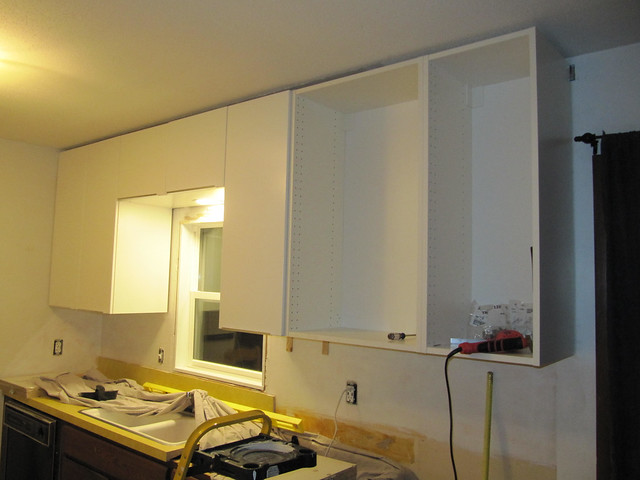
then we worked on screwing all the upper cabinets together, but it didn't go quite right. when the over-the-sink cabinet wouldn't fit above the old window, we cut the rail for one side of the window and the other. when the window was replaced, i had to cut a new separate piece of rail and put it in between two different sections of already hung rail. i think i hung the rail for the over the sink cabinet just a teeny tiny smidge too high. like not even 1/16th of an inch. but it made it a bit complicated, screwing the cabinets next to it all together evenly. and made putting in the plastic lock for the suspension rail at the upper back inside of the cabinet not quite fit right as well. but we wiggled and fiddled and got it all screwed together and locked in place.
today i worked on putting the cabinet doors on and shelves in. but i couldn't lift the 24" wide 40" tall door and hold it up while i snapped its hinges in place so i had to wait til the roommate got home and ask for his help.

still waiting for the last 15" cabinet door on the end to arrive. it had to be shipped to me, ikea was out of stock.
i also screwed in the vertical divider things in the cabinet above the fridge for cookie sheets and muffin tins and such. i'm loving these things!

since i can only reach the very bottom of that cupboard, this works great for me. all i need to reach is the bottom edge of anything up there to grab and pull something out.

i need to visit the countertop places and get a firmer number and details on that so when we do get to the counters we have some idea.
No comments:
Post a Comment