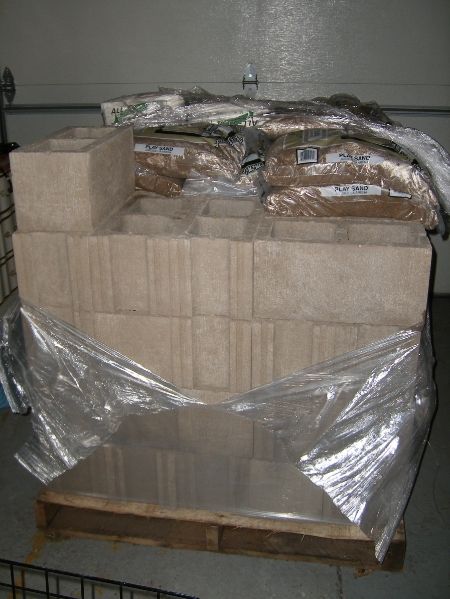
back on october 11 and 12 my dad and i built my second raised bed garden. because i love the first one so much.
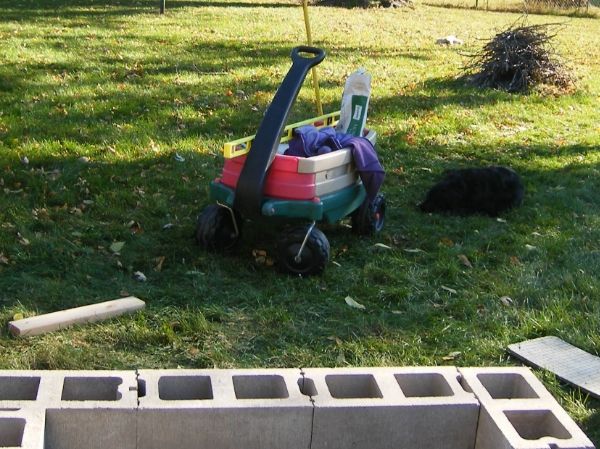
my trusty wagon, hauled the blocks out three at a time.
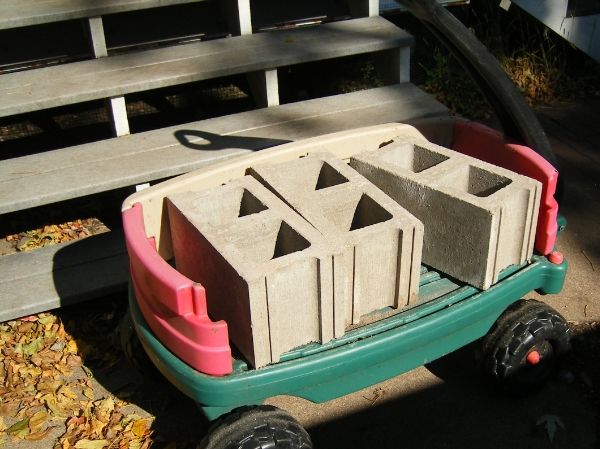
hauled them from inside the garage, out the door to the backyard
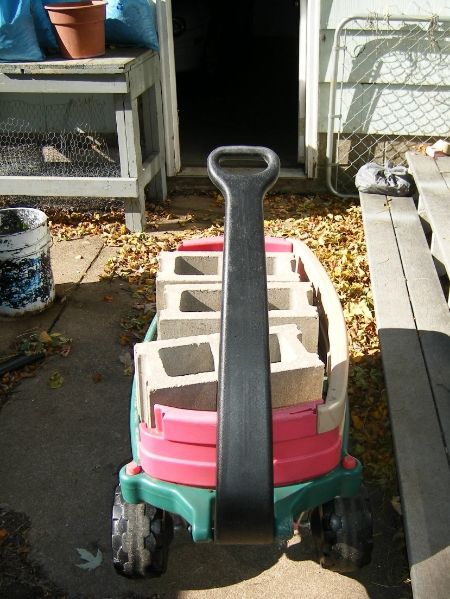
and aaaaaaaaaaall they way across the yard back to the farthest corner.
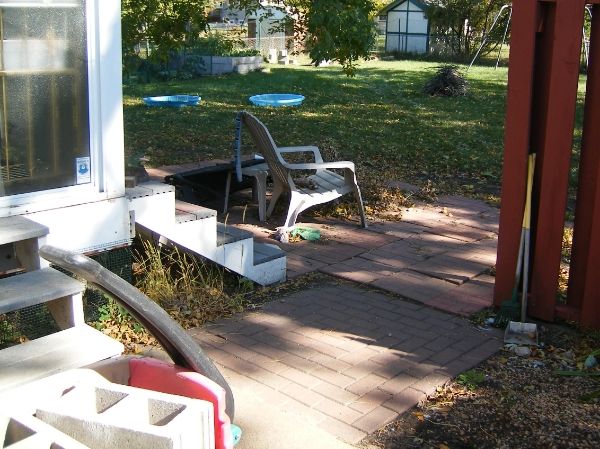
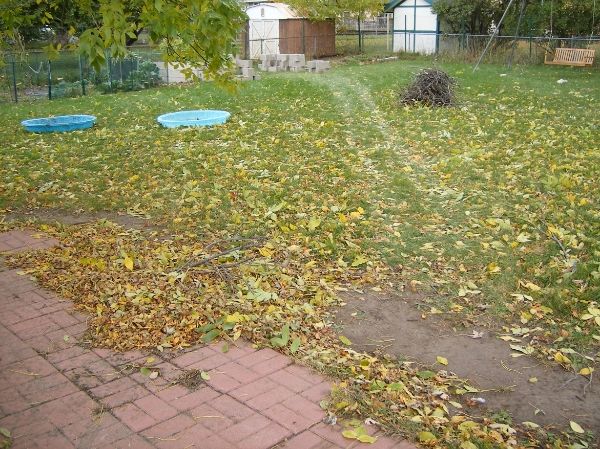
after a few trips, the wagon left a trail in the grass
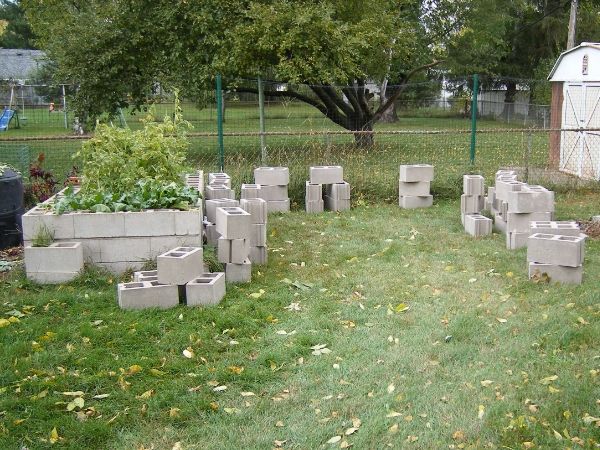
64 blocks all hauled out and ready for construction, next to the existing raised bed garden.
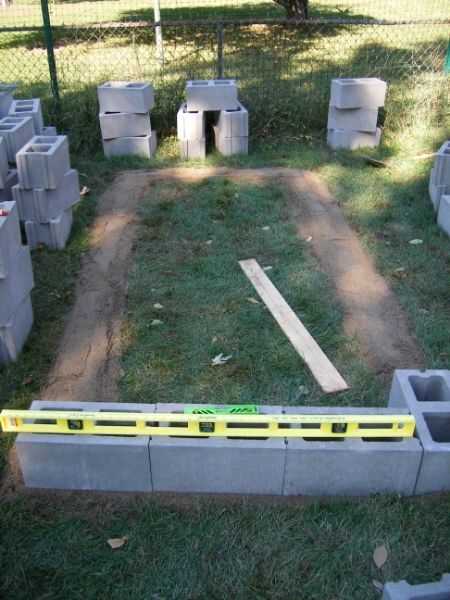
used 6 bags of sand to try to level out the uneven ground
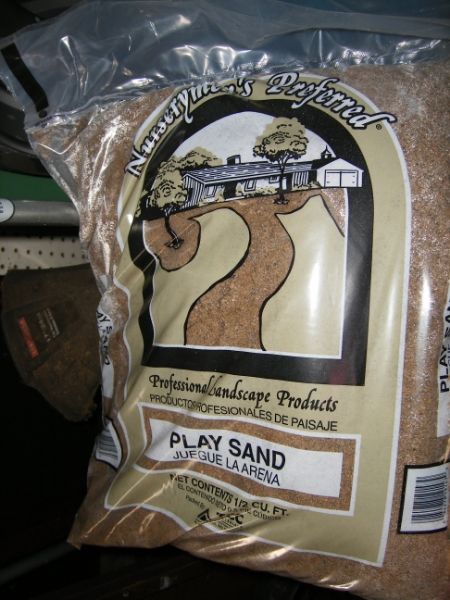
play sand is the cheapest
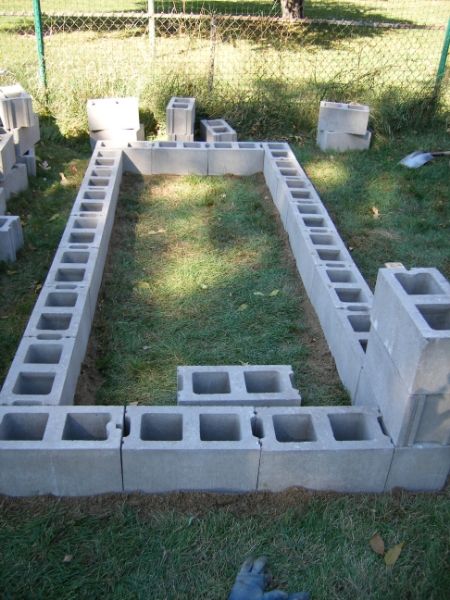
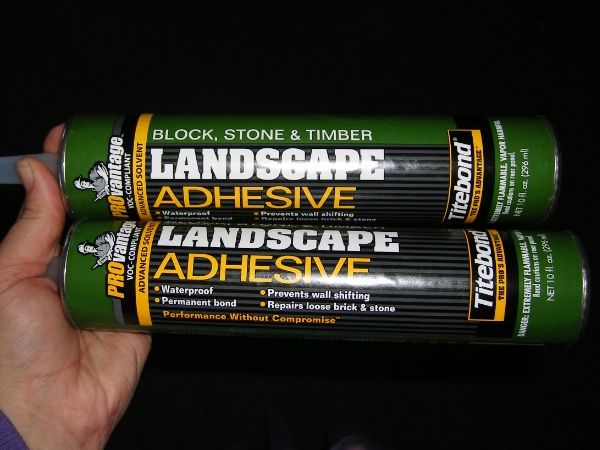
first layer of blocks are glued together with adhesive
used special adhesive made just for blocks. it took two tubes for the entire thing.
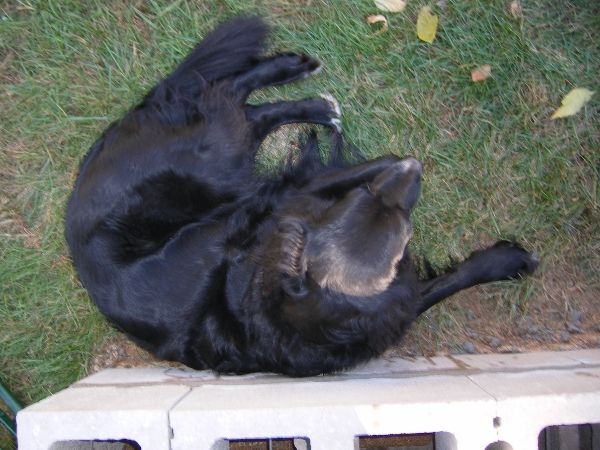
molly wanted to be where the people are. she kept laying right up against the outside of the new wall.
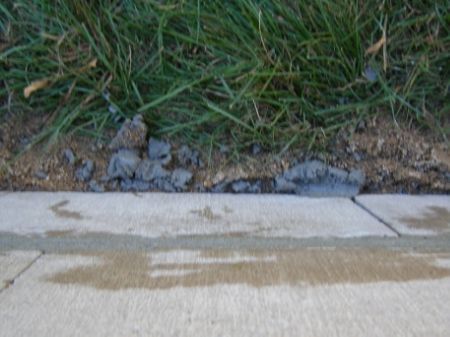
but what she was laying on was dropped mortar! luckily it was drying out already and didnt stick to her fur, but i freaked out at first thinking it would.
puppy was content to lay near the wagon. he's been thru this before.
applying mortar between the layers of blocks
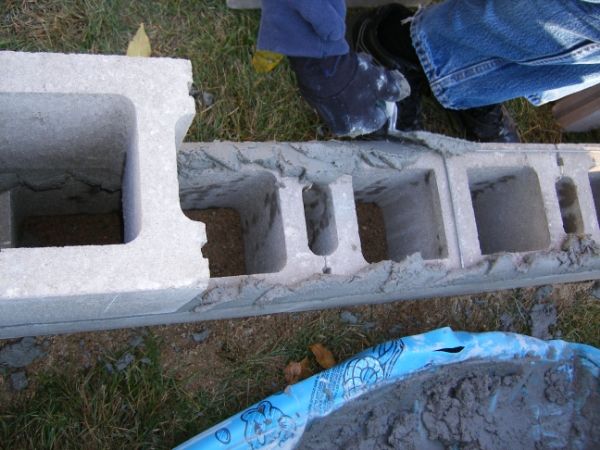
2nd layer of blocks installed. it took 3/4 of a bag of mortar per layer.
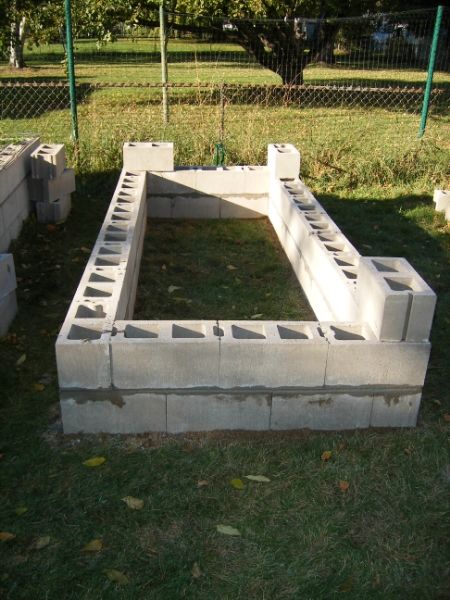
the new raised bed, half built, next to the existing one. end of day one. (blocks are heavy!!!)
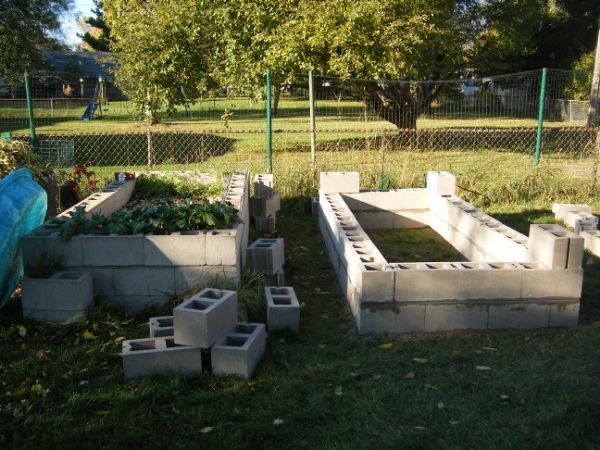
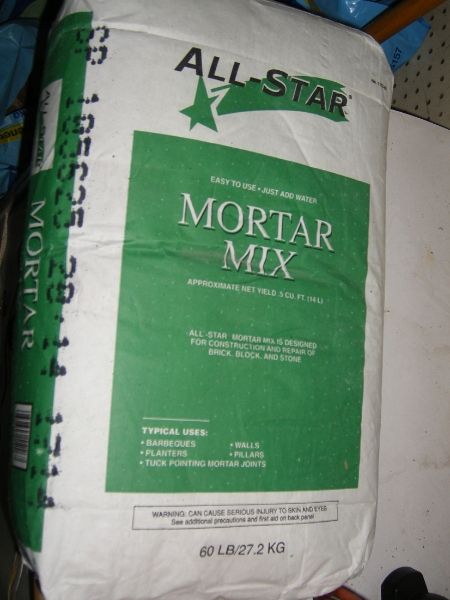
starting day two of construction. i had bought 2 bags of mortar. we used about 1 1/2 bags for the whole thing.
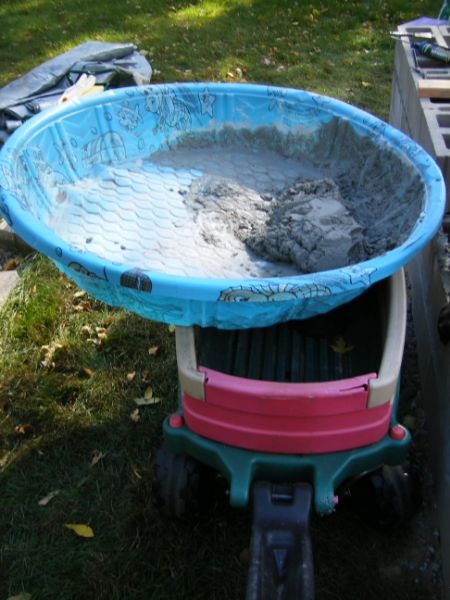
mixed the mortar up in one of the dogs old kiddie pools that was needing to be retired this year. set the pool up on top of the wagon for easy moving and better access
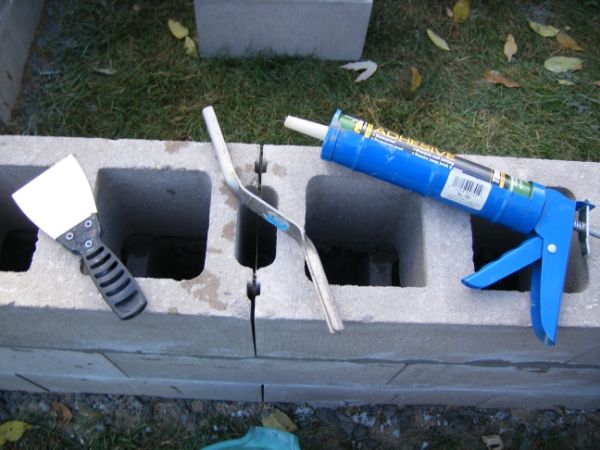
tools we used: caulk gun on the right for the adhesive. scraper/spatula thingy on the left. in the center is a special tool called a masonry jointer, possibly a sled jointer. you run it along the mortar joint, pressing in. it leaves a concave indent, which helps shed water, and compacts the mortar into the joint along the outer edge. each end is a different size. also very important is the trowel about 5 pictures back.
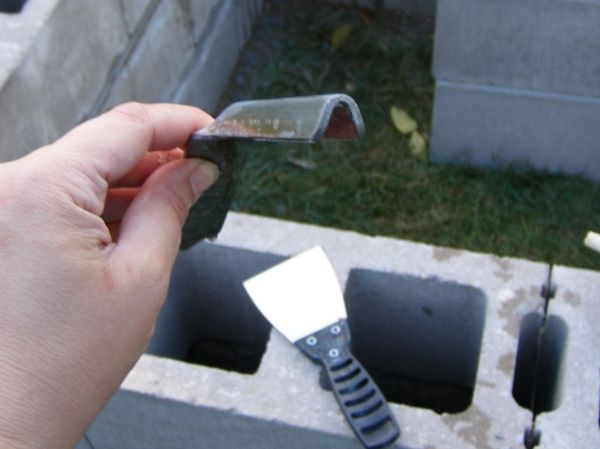
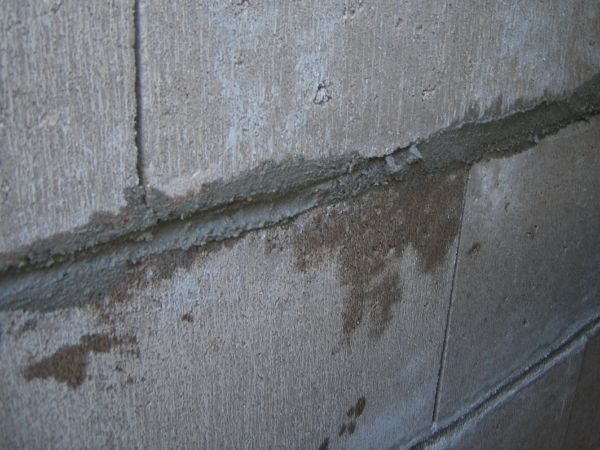
close up of the masonry jointer
on the left you can see the jointer has been used, the mortar is pressed in and concave. on the right it hasnt been used yet.
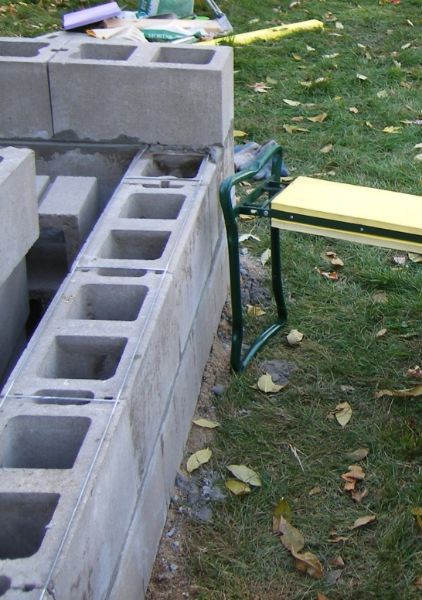
between each layer of the blocks you lay masonry ladders for reinforcement. thats the metal thing you see laying on top of the block. slap the mortar on top of it and place the blocks.
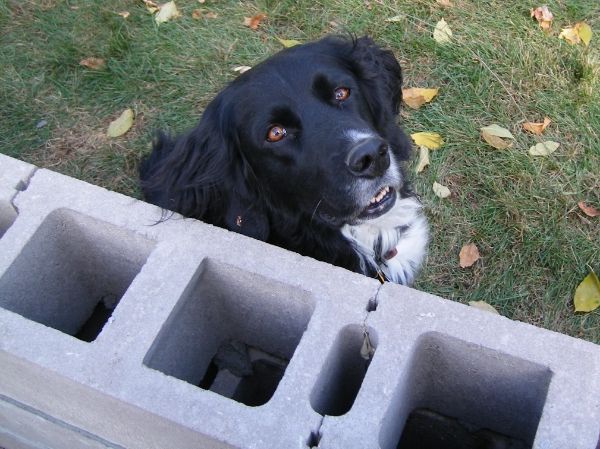
guess whose back! molly of course! cant keep her away!
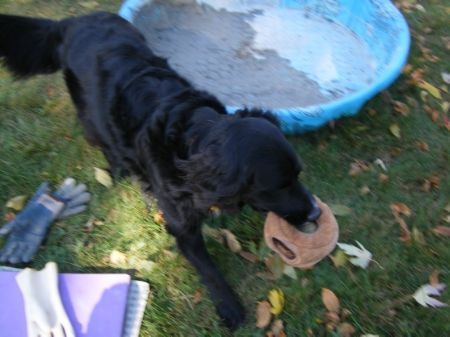
you're done! lets play! screw that clean up crap! look i even brought you a toy! PAY ATTENTION TO MEEEEEE!
finished!
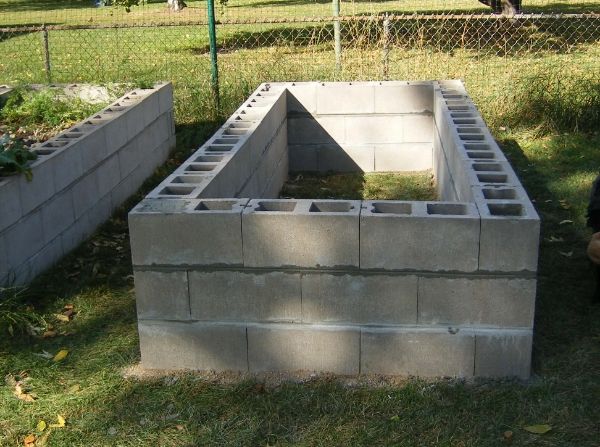
you may notice the new one on the right sticks farther out than the old one.
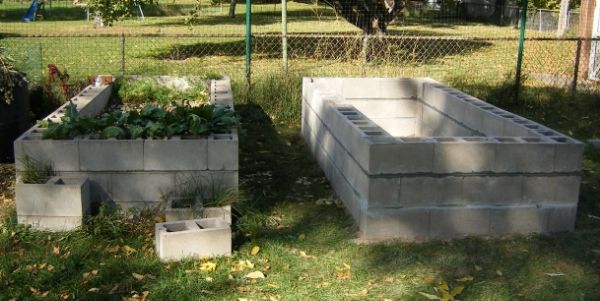
no? heres a better view. old in the back, new in the front.
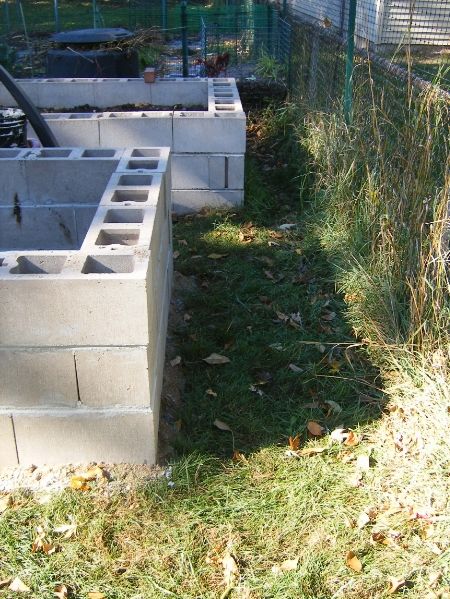
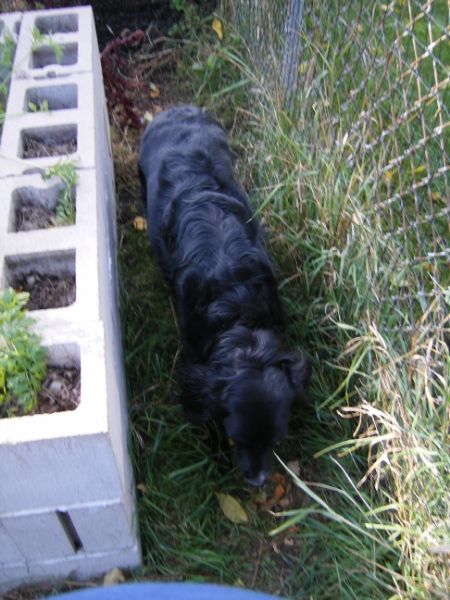
the reason for that is because i placed the old one too close to the fence. i wanted more room. heres a picture of molly between the old raised bed and the fence. too close.
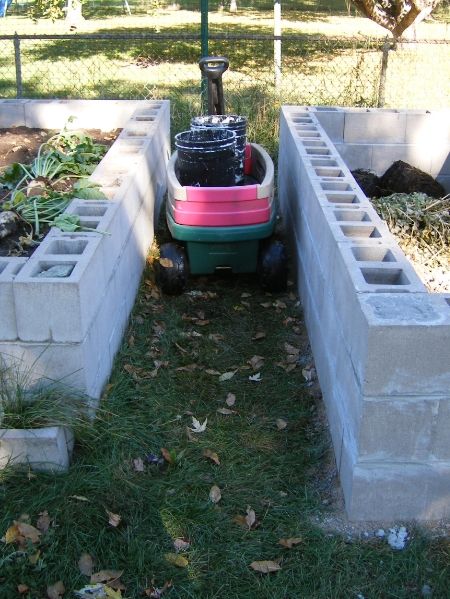
but i was smart enough to leave enough room between the two raised beds for my trusty wagon (and the lawn mower).
the end!
here is the cost breakdown
--- 64 blocks at $0.95 each = $61
--- 6 bags of sand at $2.27 each = $14
--- 2 bags mortar mix at $3.59 each = $7
--- 6 masonry ladders at $2.44 each = $15
--- 2 tubes of construction adhesive at $2.99 each = $6
total cost $103. plus $59 for delivery. $162.
i chose delivery because each of those blocks weights 36 pounds. it would be probably take at least two or three separate trips on separate days to load that many blocks into the bed of my dads truck, and then unload them out of the truck into my garage. very very hard on the back. i felt $59 was worth the price to have someone ELSE do all that work. the delivery guy was kind enough to push the pallet into my garage. and from there i was able to take my own sweet time and work at my own pace hauling the bricks out across my yard in my wagon. i think that took me three days, in short bursts spread out thru the day. maybe you might have the strength or endurance that loading and unloading so many blocks isnt an obstruction, but for me delivery was the right choice.
the first raised bed i built (back in sept 2010), i also ordered a pallet filled with bags and bags of peat moss, compost, and sand, in a mix according to the book cinder block gardens by lynn gillespie. the amount of stuff i ordered wasnt enough to fill the bed, so i kept adding shredded leaves each year. this year i figured screw buying soil. i'll just keep dumping all my MANY ENDLESS leaves in there since that worked so great in the other one. pictures from the first time around http://minnesotapears.blogspot.com/2010/09/making-cinder-block-raised-bed-garden.html
No comments:
Post a Comment