you start with raw cashews and soak them. finding raw cashews took a little investigating. most nuts have been roasted.
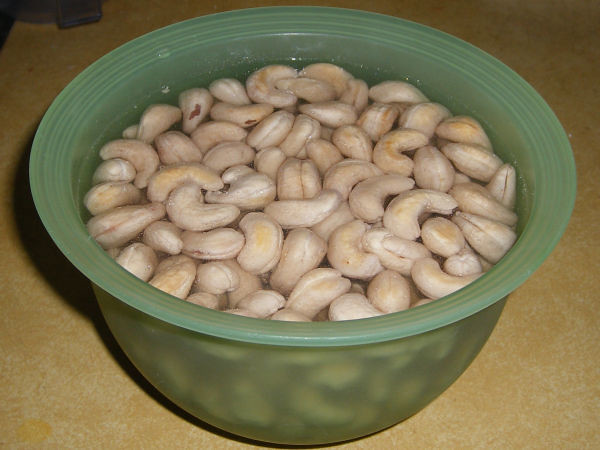
they do swell a little
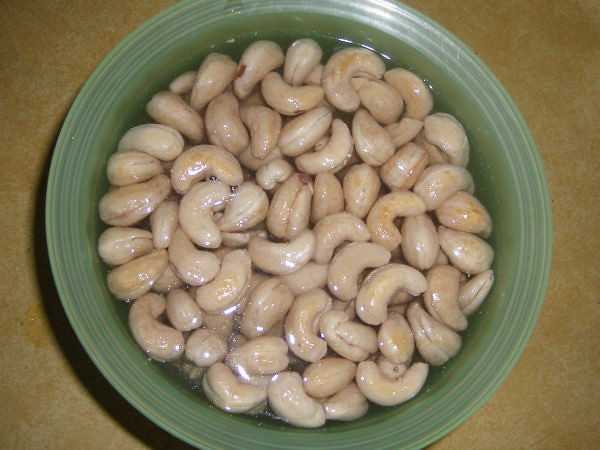
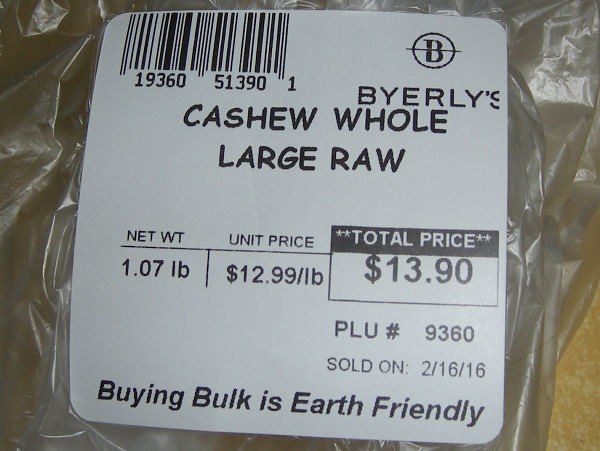
they're not cheap.
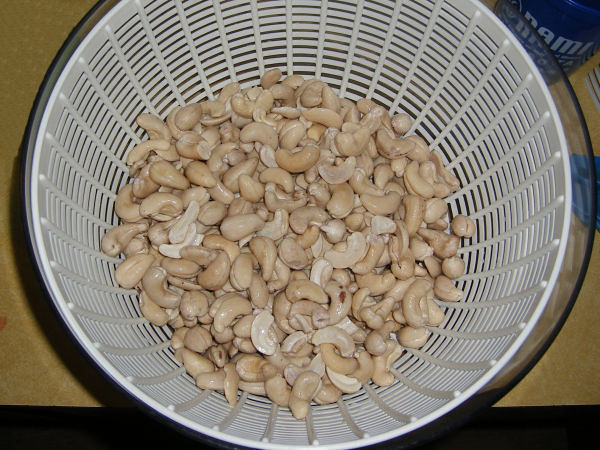
i used the salad spinner to get the extra water off. i've used this salad spinner for lots of things, but never once for salad, hehehe.
the first recipe said to strain in cheesecloth
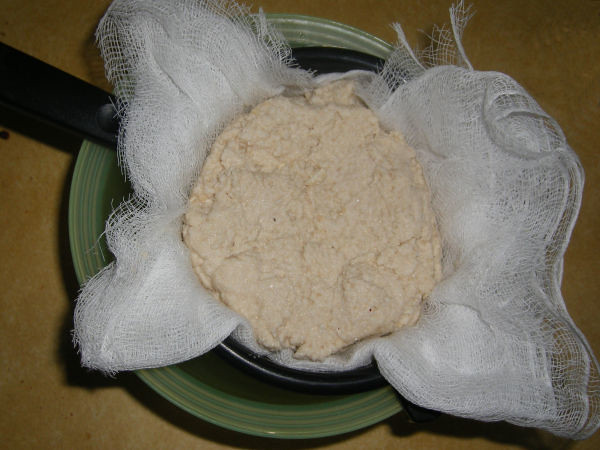
after straining
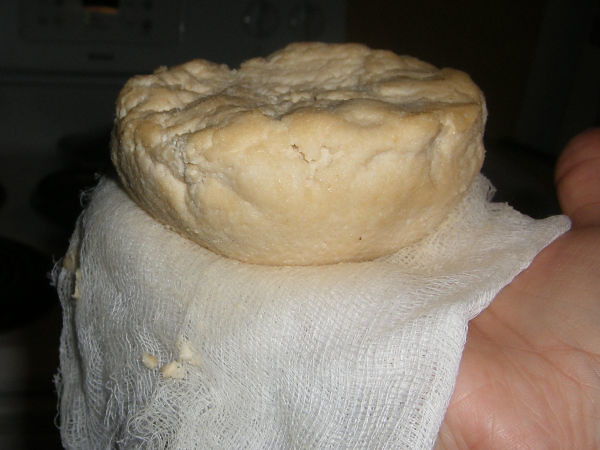
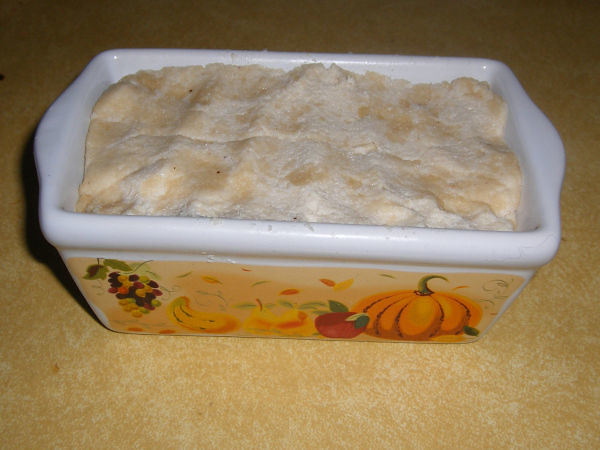
smooshed into an oven proof container i picked up at goodwill
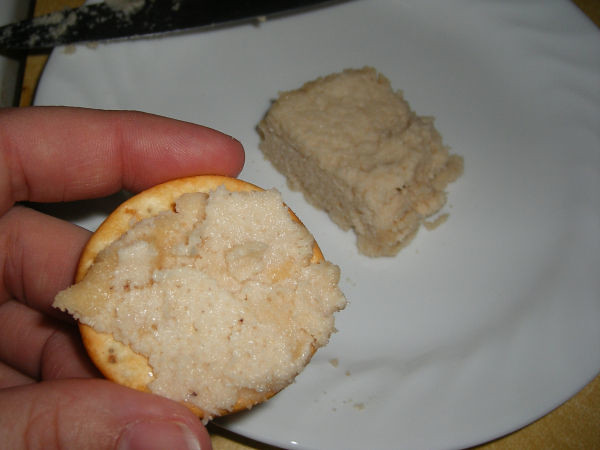
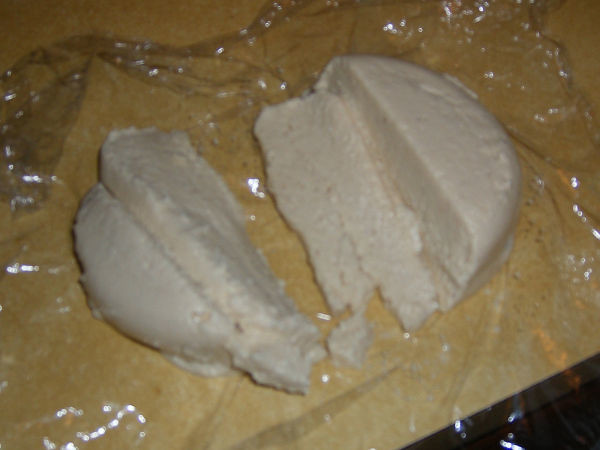
after baking. it was the firmest of the three cheeses. i liked its texture best. but it didnt have the nutritional yeast in it. i would make it again and add that. and more salt. i followed the recipe exactly and even my parents agreed it was bland, but had the best texture.
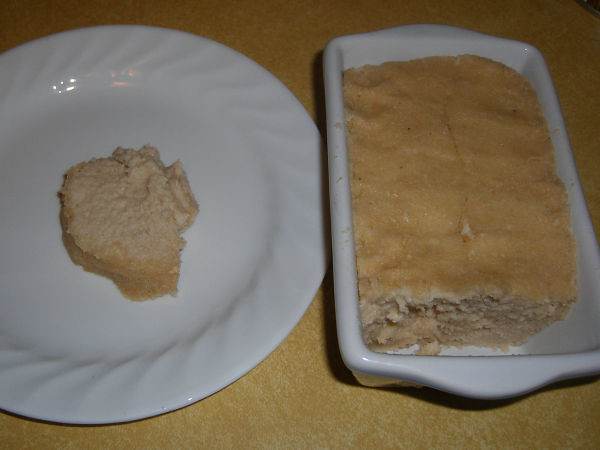
it was still soft and spreadable, and nice on crackers. and still warm out of the oven.
recipe
https://www.pinterest.com/pin/335447872226826009/
http://kblog.lunchboxbunch.com/2010/08/vegan-cashew-cheese-herb-crust-velvet.html
Vegan Cashew Dry-Baked Cheese
2 cups raw cashews, soaked in salted water for at least 8 hours
1/2 cup salted soaking water (reserved for recipe)
1 tsp sea salt (use an herbed salt if you'd like - high quality goes a long way here)
optional: garlic powder, additional herbs/spices for rubbing on top before baking
Directions:
1. Soak your cashews in salted water overnight or at least 8 hours. I soak mine on the counter top - covered.
2. Drain your cashews - but reserve about 1/2 cup of water, maybe more.
3. Add your cashews, salt and 1/2 cup salted soaking water to a food processor. Blend until as smooth and velvety as you can possibly get them. You want the consistency to be that or a thick ricotta cheese. If you need to add more water - do so. But don't add too much and get a soggy mixture.
**Stop and Taste Your Food: do a taste test here and add more salt if needed - but remember the saltiness will condense as the cheese dries out. So the taste test should taste slightly under-salted - but still flavorful**
4. Set up your cheesecloth and pour the mixture into the center of your cloth.
5. Wrap the cheese mixture in a tight bundle and tie with a rubber band or string.
6. Suspend the bundle over your deep bowl/bucket/pitcher.
7. Allow your cheese to "drain" at room temperature for 2-4 hours. Some cheese mixtures will drain a bit of liquid off and some will simply dry out and the water will soak into the cloth. Today my cheesecloth was super dry and no actual water collected in my pitcher - but the cheese cloth soaked up a good amount of moisture.
8. Next, place your cheese (still in the bundle) in the fridge.
9. Let chill overnight or at least a few hours.
10. Remove the cheese from the cloth! It should be in a nice firm ball now. Some of the moist cheese shell may stick to the cloth - that's OK. Just be gentle removing the cheese. Plop it into an oven-safe serving cheese dish. Sprinkle a bit of herbed salt and pepper on the top of it. I added a dash of garlic powder for color, texture and flavor.
11. Place in a 200-250 degree oven to bake for 45 minutes-2 hours. If doing 2 hours be sure to have your oven turned to 200 degrees or even a bit lower. This process will slow-bake the cheese, drying it out without "melting" or burning it. I baked my cheese at about 215 degrees for 90 minutes.
12. Remove cheese and allow to cool a few minutes before serving. Or you can allow to cool in fridge for at least an hour, or overnight for a firm cheese with a less crisp crust.
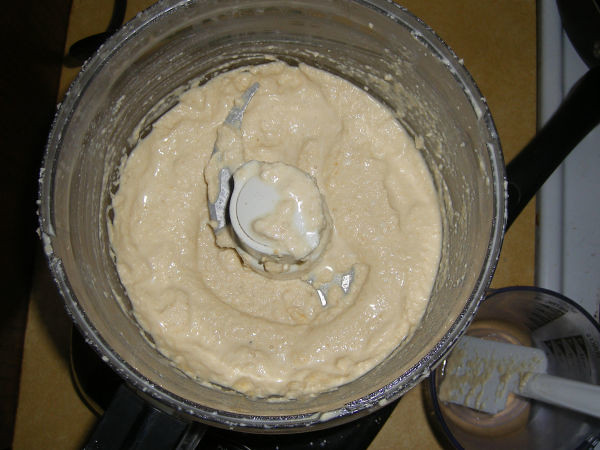
the second recipe, i think something was wonky with the measurements. it was extremely liquid. i double and triple checked the amounts and i did follow the recipe correctly.
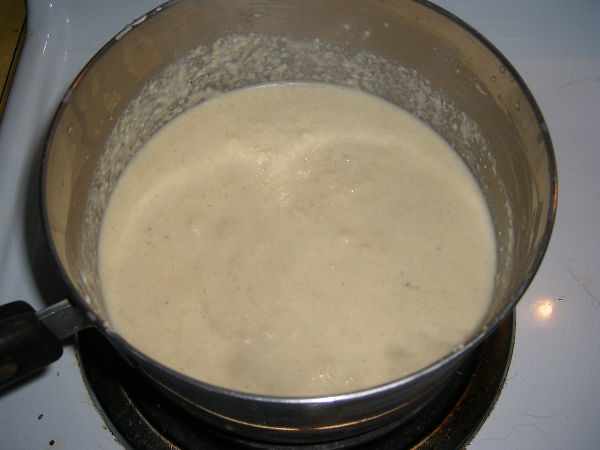
then you cook it on the stove, and it was still really really liquid.
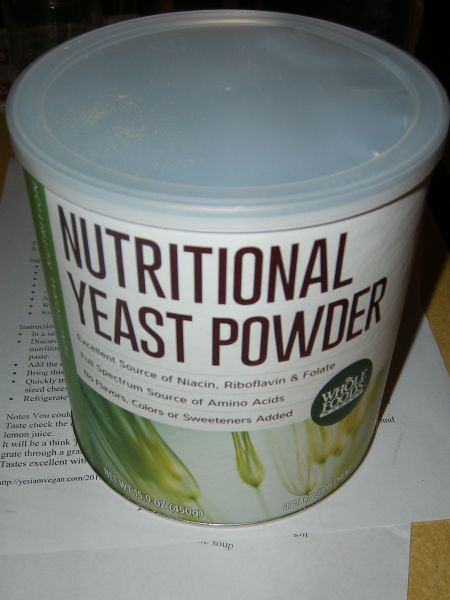
but it had nutritional yeast in it and i wanted to try that
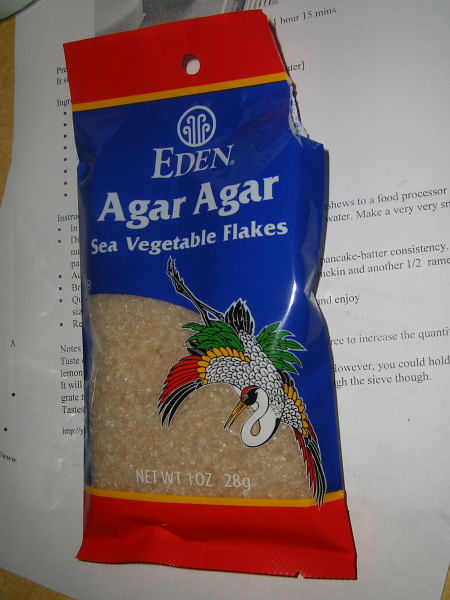
it also had agar agar in it as a thickener, but it didnt thicken up much.
it was supposed to be a slice-able cheese. it was not.
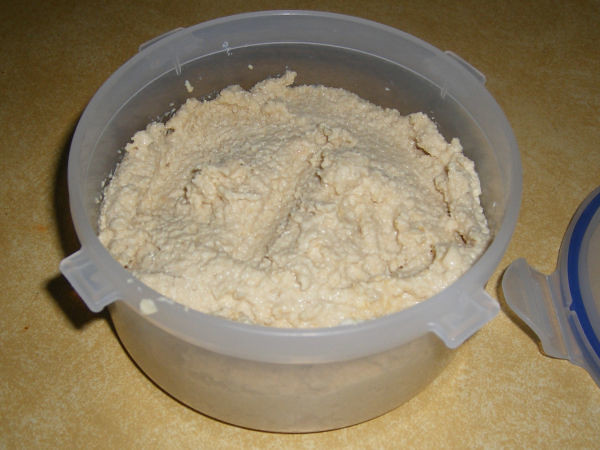
extremely soft mushy cheese. and sour/tart from the lemon juice in it. least favorite of the three.

i tried slicing it, it just all mushed back together.
1/2 cup water to 1/3 cup cashews didnt make a paste, it made soup. and then add to ANOTHER 1/2 cup water with the agar agar. it just didnt set up, even though i cooked out a lot of liquid on the stove.
https://www.pinterest.com/pin/335447872226781538/
http://yesiamvegan.com/2015/07/20/sliceable-vegan-cashew-cheese/
Sliceable Vegan Cashew Cheese
Raw Cashews-1/3 cup [Soaked overnight in a cup of water]
Nutritional yeast-1 heaped Tbsp+1.5 tsp
Garlic-1 clove (you don’t want this to be a garlic cheese)
Starch of your choice (Tapioca/Arrowroot/Corn)-1.5 tsp
Agar Agar powder- 1.5 tsp
Juice from Lemon-1 Tbsp + 2 tsp
Water-1/2 cup +1/2 cup
Salt-to taste
In a saucepan, mix agar agar in 1/2 cup water. Keep aside
Discard the water from cashews. Rinse them really well. Add cashews to a food processor with nutritional yeast, garlic, starch, salt, lemon juice & 1/2 cup of water. Make a very very smooth paste.
Add the cashew paste to agar agar mixture.
Bring this to boil on a low-medium heat until it forms a thick pancake-batter consistency.
Quickly transfer to ramekins. This quantity makes one full ramekin and another 1/2 ramekin sized cheeses.
Refrigerate for an hour. Carefully remove from the ramekin
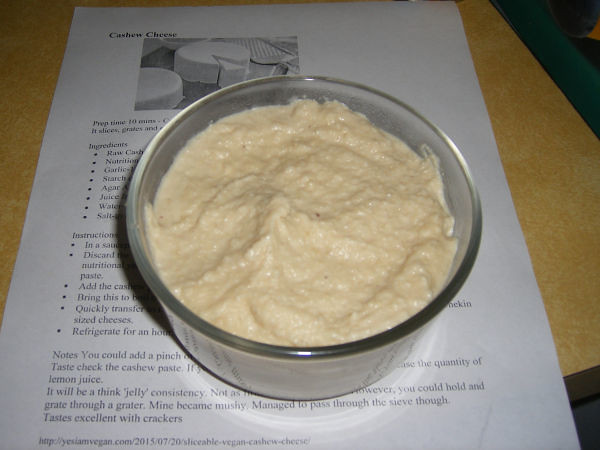
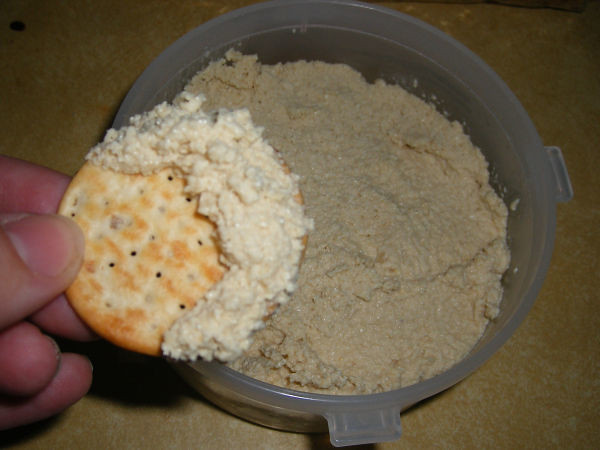
the third one was kinda gritty. not cooked at all.
gritty looking, and soft/spreadable. but tasty, with the nutritional yeast. flavor was voted best in this one.
https://www.pinterest.com/pin/335447872226781723/
http://www.oneingredientchef.com/cashew-cheese/
Cashew Cheese Recipe
Ingredients:
1 1/2 cups raw cashews
1/2 cup water (to start)
3 tablespoons nutritional yeast
1 tablespoon lemon juice
1 teaspoon apple cider vinegar
1/2 teaspoon garlic powder
1/4 teaspoon black pepper
1/4 teaspoon salt
Step One- Soak the cashews! Place about 1 1/2 cups of cashews in a container with warm water and soak for at least 2 hours. This is incredibly important because it will soften the cashews, allowing them to be fully blended – no one likes little chunks of cashews in their sauces.
Step Two - Then, drain the cashews and add all ingredients (cashews, water, nutritional yeast, lemon juice, apple cider vinegar, garlic powder, black pepper, and salt) to a high-powered blender like a Vitamix and blend until smooth. This will likely be very thick and you will need to manage the speed to ensure that it continues blending. If it’s way too thick, add a little more water.
The nutritional yeast adds a distinctly cheesy taste, the garlic and salt intensify the flavors, while the acid from the lemon juice and apple cider vinegar brighten things up.
Step Three - Chill. Spoon the cheese into a jar or container and refrigerate. cashew cheeses become better after refrigerating for several hours (according to *this* recipe). The texture improves and the flavors meld together perfectly.
The final texture will be solid, but spreadable. You can easily thin it out (such as for pasta sauces) by adding more water. If stored in a sealed jar, the cheese will last for about a week in the refrigerator.
No comments:
Post a Comment